How to Choose Outdoor Projector Screen Material: A Practical Guide
Introduction
One who wishes to enjoy cinema‑quality images under the night sky must first understand the characteristics of screen material. This guide will explain how to evaluate location, select the appropriate fabric, prepare a mounting system, and achieve a flat, glare‑free surface. The reader will learn why certain textures, colors, and construction methods matter for outdoor use. By following the steps, one can create a reliable viewing area without excessive expense.
What You'll Need
- Measuring tape and level
- Utility knife or scissors
- Staple gun or strong adhesive
- Wooden framing material or existing wall surface
- Protective gloves
- Optional: Yescom 177" PVC Projection Screen Material
- Optional: AAJK 150" Foldable Projector Screen
Step‑by‑Step Instructions
1. Assess the Outdoor Location
Begin by selecting a site that offers a relatively flat surface and minimal ambient light. Measure the available width and height, remembering that a 16:9 aspect ratio is standard for most projectors. Verify that the chosen spot can support a frame or that a wall can serve as a natural backing. Record the dimensions so that the material can be cut to the exact size required.
2. Choose the Appropriate Screen Material
Material selection determines image brightness, color fidelity, and durability against weather. For a permanent installation, the Yescom 177" PVC Projection Screen Material provides a matte white surface that diffuses light uniformly and reduces eye strain. It is constructed from high‑strength PVC‑coated textile, offering both durability and flexibility. The product measures 177 inches diagonally (153.97" × 86.63") and features a 160° viewing angle, making it suitable for large outdoor gatherings. At a price of $129.90 and a rating of 4.4 out of 5 stars from 465 reviews, it represents a cost‑effective solution for DIY enthusiasts.
If portability or temporary setups are required, the AAJK 150" Foldable Projector Screen offers a lightweight, wash‑able fabric that can be folded and stored in a backpack. Its 150‑inch 16:9 format provides a 132" × 72" viewing area and includes mounting hooks for quick installation. Priced at CAD40.94 with a 4.4‑star rating from 5,325 reviews, it is an economical choice for seasonal events or traveling presentations.
3. Prepare the Frame or Mounting Surface
For a fixed screen, construct a rectangular frame using 2×2 or 2×4 lumber, ensuring the corners are square. Paint the interior of the frame black to absorb stray light and improve contrast. If a wall will serve as the backing, apply a thin strip of black felt along the edges to prevent light leakage. Secure the frame with screws or brackets that can bear the weight of the PVC material, which is approximately 1.5 pounds per square foot.
When using the foldable screen, attach the supplied hooks to a sturdy wall or portable stand. Verify that the mounting points are level, as any tilt will distort the projected image. The included rope and tie‑downs simplify tensioning, but a tensioning bar can be added for larger installations.
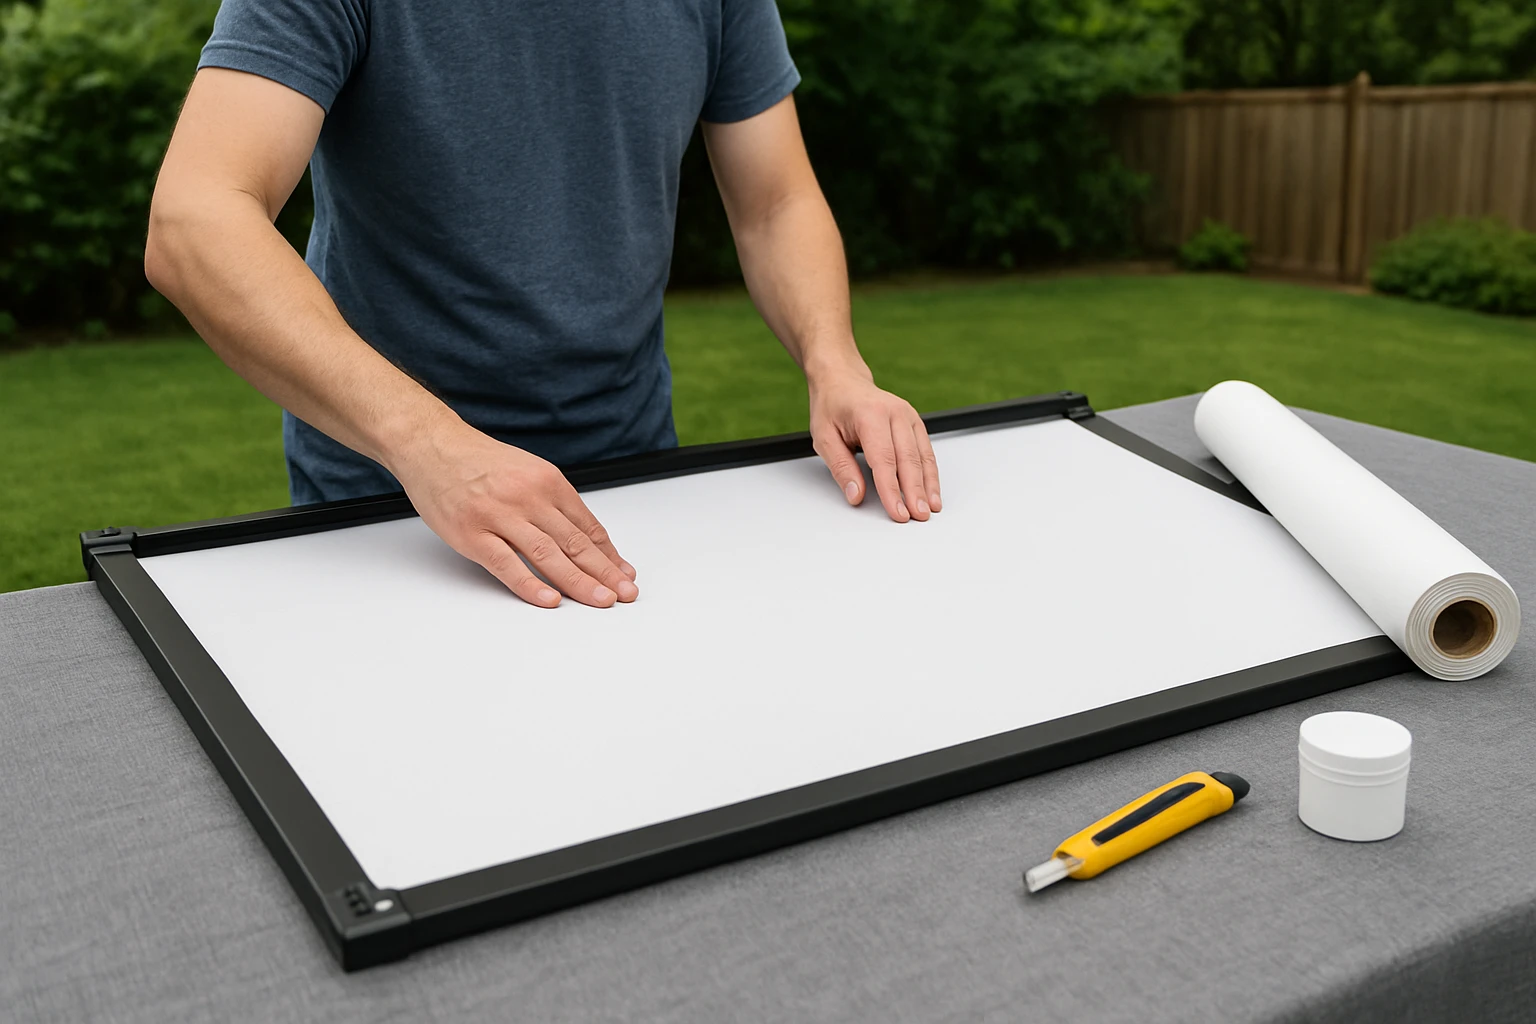
4. Install the Screen Material
Unroll the chosen material on a clean surface and cut it to the exact dimensions measured in Step 1. Use a utility knife for clean edges, and remove any excess fabric to avoid sagging. For the Yescom PVC sheet, stretch the material evenly across the frame and secure it with a staple gun, placing staples every six inches along the perimeter. The matte white surface should face the projector, while the black backing faces outward to block ambient light.
When installing the AAJK foldable screen, attach the hooks to the pre‑drilled holes, then pull the fabric taut using the provided ropes. Adjust the tension until the surface is smooth and free of creases. The screen’s anti‑crease treatment minimizes wrinkles, but a light hand with a squeegee can further flatten the material.
5. Fine‑Tune Tension and Alignment
After the material is secured, use a level to confirm that the surface is perfectly vertical. Adjust the frame or mounting points as necessary to eliminate any tilt. For PVC material, a rubber mallet can be used to gently tap the edges into place without damaging the fabric. Ensure that the corners are firmly anchored; loose corners often cause light leaks and uneven illumination.
Project a test pattern from the projector and observe the uniformity of color and brightness. If hotspots appear, check for gaps between the material and the frame, and add additional staples or adhesive strips. The matte finish of the Yescom screen helps to diffuse light, reducing the likelihood of hot spots compared with glossy alternatives.
6. Test the Projection and Make Adjustments
Position the projector at the recommended throw distance for the screen size, typically 1.5 to 2.5 times the screen width. Power on the projector and display a high‑resolution test image. Observe the edges for any distortion; if distortion is present, adjust the projector’s keystone setting or reposition the screen slightly.
Finally, evaluate the viewing experience from various angles. The 160° viewing angle of both recommended screens ensures that spectators seated off‑center still receive a clear image. If the image appears dim, consider adding a blackout curtain behind the screen to improve contrast.
Tips & Pro Tips
- Apply a weather‑proof sealant to the PVC material if the screen will be left exposed to rain.
- Use a black backdrop or portable blackout panels to enhance contrast on bright evenings.
- For large permanent installations, consider adding a tensioning bar across the middle of the screen to prevent sagging.
- Store the foldable screen in a dry container to prevent mold growth.
- Regularly clean the surface with a soft, dry cloth; avoid abrasive cleaners that could damage the matte coating.
Troubleshooting
Problem: Screen appears uneven or rippled.
Solution: Re‑tension the material by tightening the mounting ropes or adding additional staples. Use a flat board to press out any remaining creases.
Problem: Image is dim or washed out.
Solution: Verify that the black backing is fully opaque. Install a blackout curtain behind the screen and ensure the projector is set to its highest brightness mode.
Problem: Screen material tears during installation.
Solution: Cut the material with a sharp utility knife and avoid over‑stretching. The PVC material is thick but can be damaged by excessive force.
Conclusion
Choosing the right outdoor projector screen material involves assessing the environment, selecting a durable fabric, and installing it with proper tension. By following the steps outlined in this guide, one can achieve a high‑quality viewing surface that delivers bright, sharp images even under challenging lighting conditions. The recommended Yescom 177" PVC Projection Screen Material and AAJK 150" Foldable Projector Screen provide reliable options for permanent and portable setups respectively. One should now feel confident to create an outdoor cinema that rivals any indoor theater.
Products Mentioned in This Guide
Frequently Asked Questions
What factors should I consider when selecting an outdoor projector screen material?
Consider ambient light, weather resistance, gain, color (white or gray), and the screen’s texture for glare reduction.
Is a white or gray screen better for outdoor use?
Gray screens improve contrast in bright environments, while white screens offer higher brightness in darker settings.
How do I mount a projector screen to ensure a flat, glare‑free surface?
Use a sturdy wooden frame, level it precisely, and secure the material with a staple gun or strong adhesive to prevent sagging.
Can I use PVC projection screen material outdoors?
Yes, PVC screens are weather‑resistant and provide good gain, making them suitable for permanent outdoor installations.
What maintenance is required to keep an outdoor screen in good condition?
Regularly brush off dust, wipe with a mild detergent solution, and store removable screens during harsh weather.