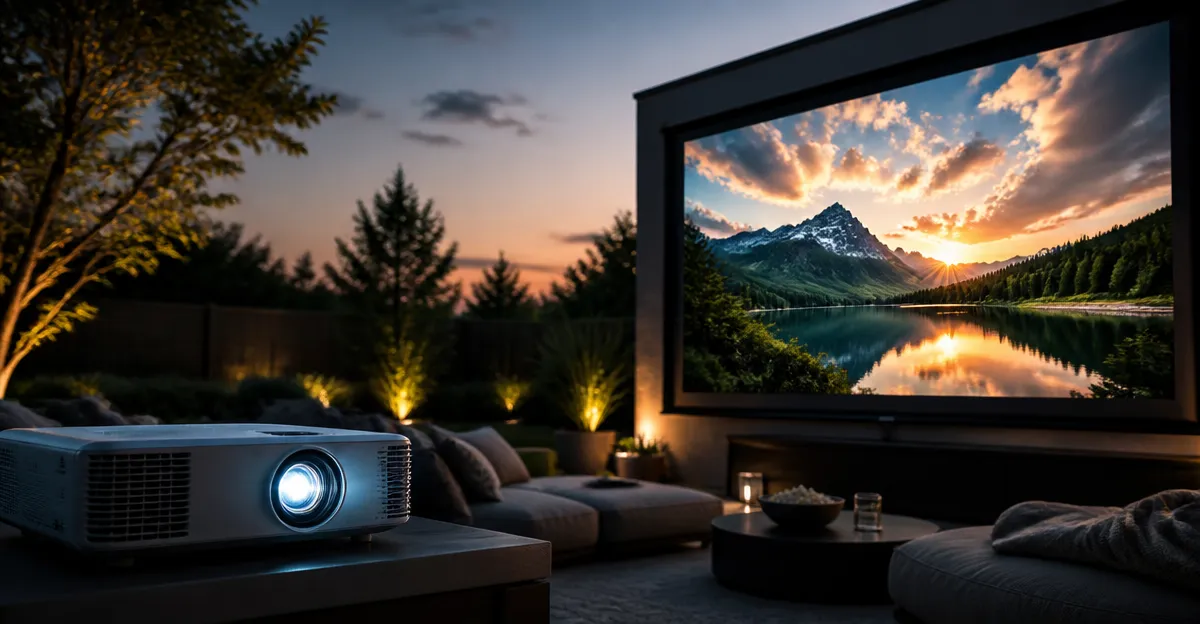
Introduction
This guide explains how to optimize high dynamic range (HDR) projector settings for outdoor viewing. Readers will learn how to adjust brightness, contrast, and color to achieve vivid, cinema‑like images even in ambient light. The instructions combine technical calibration techniques with practical product recommendations, ensuring a reliable and immersive experience.
Optimizing HDR settings is valuable because outdoor environments often present variable lighting, wind, and space constraints. Proper configuration maximizes image clarity, reduces washout, and preserves the intended artistic intent of movies and games. By following the steps below, one can transform a backyard or patio into a professional‑grade theater.
What You’ll Need
- HDR‑compatible projector (e.g., WiMiUS P62 Pro Projector or TOPTRO Outdoor 4K Projector)
- High‑gain projector screen (e.g., Mdbebbron 120" Projector Screen or AAJK 150" Projector Screen)
- Calibration tools such as a colorimeter or test‑pattern DVD/USB
- Secure mounting hardware (tripod, ceiling mount, or wall brackets)
- Power extension cord and surge protector
Step 1: Select and Install an Appropriate Screen
The screen determines how much light is reflected toward the audience, directly influencing perceived brightness and contrast. For outdoor use, a matte white screen with high gain and anti‑crease fabric is ideal because it resists wrinkles that could scatter light.
The Mdbebbron 120" Projector Screen offers a 120‑inch 16:9 surface, lightweight construction, and anti‑crease polyester material. Its portability allows quick setup on a fence, wall, or portable frame, making it perfect for weekend movie nights. The screen’s 160‑degree viewing angle ensures consistent brightness across a wide audience area.
If a larger viewing area is desired, the AAJK 150" Projector Screen provides a 150‑inch diagonal with a 132"×72" image zone. The thicker, non‑transparent fabric improves color saturation and reduces ambient light bleed, which is essential for preserving HDR highlights.
Mount the screen using the included hooks, brackets, or double‑sided tape. Ensure the surface is taut and free of creases; a smooth plane eliminates distortion that could interfere with color accuracy.
Step 2: Position the Projector for Optimal Throw Distance
HDR projectors require a specific throw distance to fill the screen without sacrificing image sharpness. Calculate the distance using the projector’s throw ratio (often listed in the manual). For the WiMiUS P62 Pro, the throw ratio is approximately 1.2:1, meaning a 120‑inch screen needs about 10‑12 feet of distance.
Place the projector on a stable tripod or ceiling mount at the calculated distance. Align the lens horizontally with the screen center to avoid keystone distortion. If the projector includes auto‑keystone, enable it, but manual alignment yields the most precise geometry.
Secure power and video cables to prevent accidental tugging. Use a surge protector to protect the device from outdoor voltage spikes.
Step 3: Enable HDR Mode and Select the Correct Input
Most modern projectors feature a dedicated HDR mode that expands the dynamic range of the image. Access the projector’s menu, locate the picture settings, and activate HDR. This mode typically adjusts gamma curves and peak brightness to meet HDR standards.
When using external sources such as a streaming stick or gaming console, ensure the source outputs HDR‑compatible video (e.g., HDMI 2.0 or higher). Set the source device to 1080p or 4K resolution with HDR enabled. The WiMiUS P62 Pro and TOPTRO Outdoor 4K both support 4K decoding and HDR10, providing a broader color gamut and higher contrast.
If the source does not support HDR, the projector will default to SDR, which limits the benefit of the HDR panel. Verify that the content itself is HDR‑encoded; many streaming services label HDR titles clearly.
Step 4: Adjust Brightness for Ambient Light Conditions
Outdoor brightness can fluctuate due to clouds, streetlights, or nearby lamps. Begin by setting the projector’s brightness to its maximum (600 ANSI lumens for the WiMiUS P62 Pro, 920 ANSI for the TOPTRO). Then, reduce the level incrementally until the black levels appear deep without crushing detail.
Use a calibrated test pattern such as a grayscale ramp to assess shadow detail. In bright conditions, a higher brightness setting may be necessary, but excessive brightness can wash out colors. Aim for a balance where whites are vivid yet not glaring.
Many projectors include a “High” mode for well‑lit environments and a “Standard” mode for darker settings. Switch between these modes based on the time of evening and the presence of ambient light.
Step 5: Calibrate Contrast to Preserve Highlight Detail
Contrast defines the difference between the darkest and brightest parts of the image. In HDR, proper contrast ensures that highlights retain detail instead of appearing as blown‑out blobs.
Start with the projector’s default contrast setting, then display a HDR test chart that includes bright highlights (e.g., a fireworks scene). Increase contrast until the highlights display subtle texture, then back off slightly to avoid clipping.
The WiMiUS P62 Pro’s AI‑powered auto‑focus and auto‑keystone features help maintain consistent contrast across the screen, but manual fine‑tuning provides the best results for demanding content.
Step 6: Fine‑Tune Color Temperature and Saturation
HDR content is mastered with a specific color temperature, typically D65 (6500 K). Set the projector’s white balance to D65 to match the source intent. Most projectors allow direct numeric entry or preset “Warm” and “Cool” options.
After setting the temperature, adjust saturation to a level where colors appear vivid without oversaturation. Use a color chart that includes skin tones, foliage, and sky to evaluate naturalness. The TOPTRO Outdoor 4K’s VIDAA OS includes a built‑in color‑adjustment wizard that guides users through this process.
If the projector offers a “Cinema” color mode, select it for a balanced profile that emphasizes accurate hues while preserving HDR dynamic range.
Step 7: Run an AI‑Assisted Auto‑Setup (If Available)
Both the WiMiUS P62 Pro and the PUTRIMS Smart Mini Projector feature AI‑driven auto‑setup functions. Activate the AI auto‑focus, auto‑keystone, and screen‑fit options to let the projector analyze the surface and adjust lens position automatically.
This feature reduces manual effort and ensures that the image fills the screen precisely, which is critical for maintaining uniform brightness and color across the entire picture. After the AI routine completes, revisit the manual brightness, contrast, and color settings to verify that the automatic adjustments have not introduced unintended shifts.
Step 8: Save and Lock Your Settings
Once the image looks optimal, save the configuration to a user profile or preset slot if the projector supports it. This prevents accidental changes when switching inputs or powering the device on and off.
Label the preset (e.g., “Outdoor HDR Night”) and test it by playing a short HDR clip. Confirm that the picture remains consistent throughout the clip, especially during rapid scene changes that stress the projector’s dynamic range.
Tips & Pro Tips
- Use a black backdrop or shade cloth behind the screen to minimize reflected ambient light, which can degrade HDR contrast.
- Position the projector slightly above eye level to reduce glare on the screen surface.
- For extended outdoor sessions, consider a portable power station or generator to maintain stable voltage.
- Regularly clean the projector’s lens with a microfiber cloth to avoid dust‑induced flare that reduces contrast.
- If the screen is exposed to moisture, store it in a dry bag to prevent fabric degradation.
Troubleshooting
- Image appears washed out. Reduce brightness slightly and increase contrast. Verify that HDR mode is active.
- Colors look oversaturated. Lower the saturation setting and confirm the white balance is set to D65.
- Keystone distortion persists. Manually adjust the projector’s tilt or use the built‑in keystone correction sliders.
- Flickering or noise in dark scenes. Ensure the projector’s lamp (or LED) temperature is within operating limits; allow a cool‑down period if necessary.
Conclusion
Optimizing HDR projector settings for outdoor viewing requires careful attention to screen selection, projector placement, and precise calibration of brightness, contrast, and color. By following the eight steps outlined above, one can achieve a vibrant, cinematic experience that rivals indoor theaters. The recommended products—WiMiUS P62 Pro, TOPTRO Outdoor 4K, PUTRIMS Smart Mini Projector, Mdbebbron 120" Screen, and AAJK 150" Screen—provide reliable tools that simplify each stage of the process. With proper setup, outdoor HDR viewing becomes an enjoyable, repeatable activity for family gatherings, backyard parties, or solo movie marathons.
Products Mentioned in This Guide
Frequently Asked Questions
How should I set brightness on an HDR projector for outdoor viewing?
Raise the projector’s peak brightness to the highest safe level, then use a test pattern to dial it back until whites are vivid without clipping in daylight.
What contrast settings work best in variable outdoor lighting?
Set a higher contrast ratio to deepen blacks, but balance it with a moderate black level so details aren’t lost in shadows under ambient light.
Do I need a special screen for HDR projection outdoors?
Yes, use a high‑gain, ambient‑light‑reject screen to boost perceived brightness and maintain color accuracy in sunny conditions.
How can I calibrate color accuracy for an outdoor HDR setup?
Run a color calibration tool or built‑in preset, then adjust the color temperature to a neutral 6500 K and fine‑tune saturation to avoid oversaturation in bright environments.
Is it necessary to use a projector with 4K resolution for outdoor HDR?
While 4K enhances detail, a projector with strong HDR capability and high lumens is more critical for clear outdoor images than resolution alone.