How to Add Live Commentary to Outdoor Screenings: Equipment, Syncing & Hosting Tips
Introduction
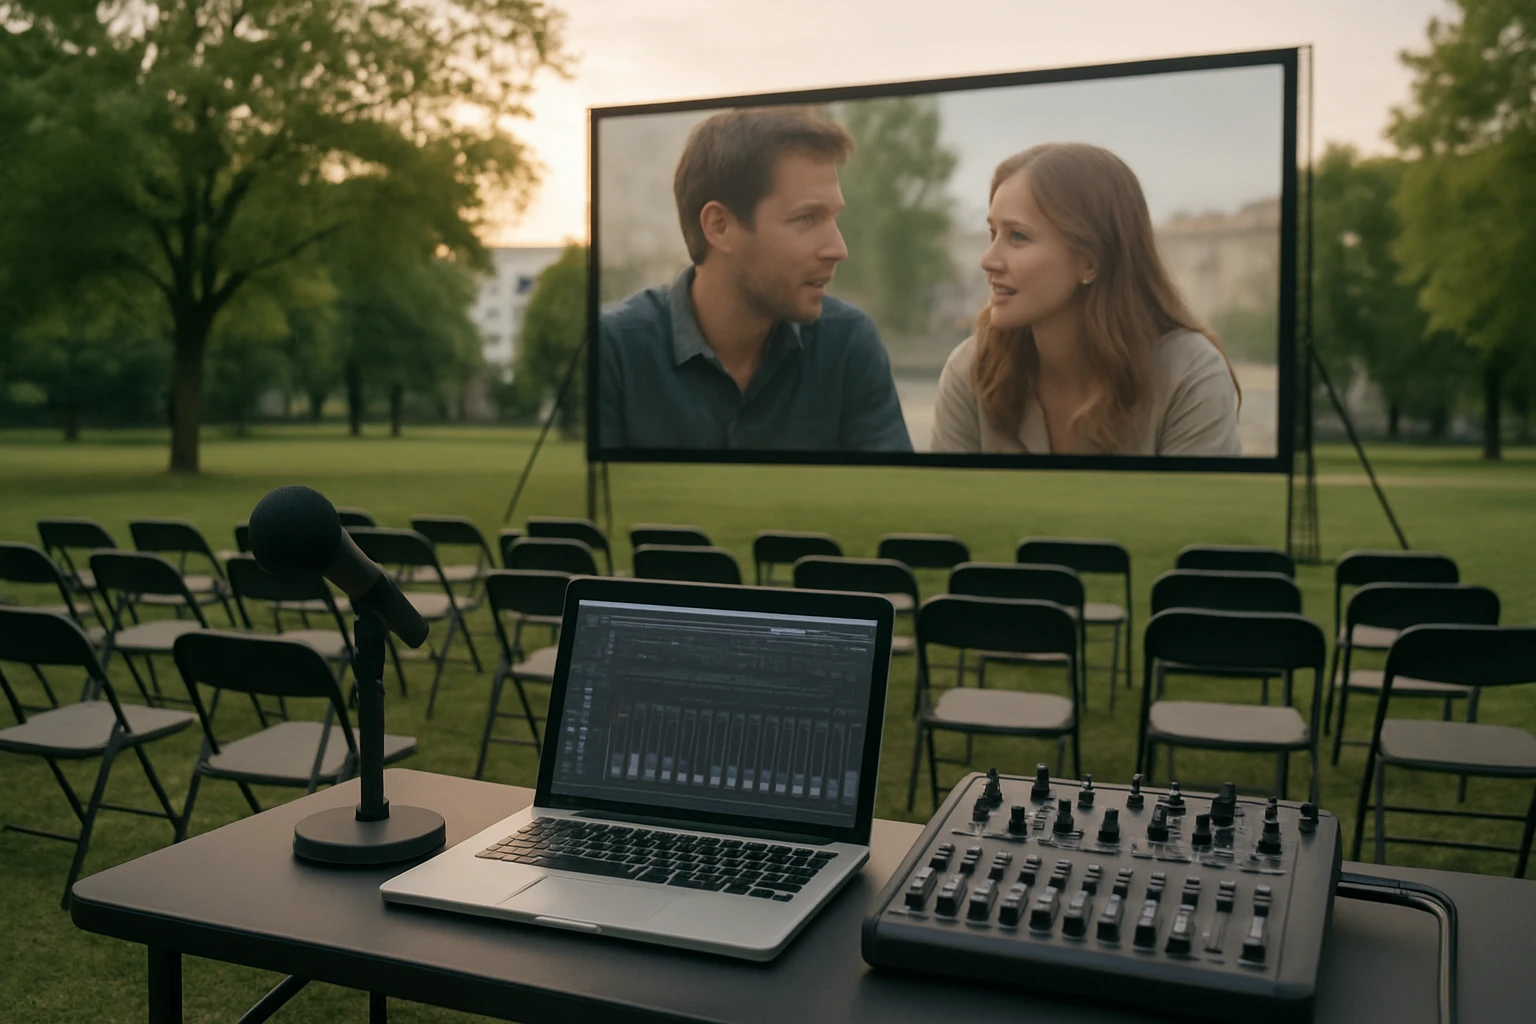
Outdoor movie screenings have become a popular way to bring communities together, but the experience can be greatly enhanced by providing live commentary. This guide explains how to set up a reliable commentary system, synchronize audio with video, and host an engaging event. Readers will learn which equipment is essential, how to configure each component, and best practices for a smooth presentation. The information is valuable for homeowners, event planners, and small‑scale venues seeking a professional result.
What You’ll Need
The following materials are recommended to achieve high‑quality live commentary in an outdoor setting. Each item is linked to an Amazon product page for convenient purchase, although alternative brands may also be suitable.
- Portable video projector with HDMI output
- Wireless microphone system (handheld or lapel)
- Audio mixer or portable receiver
- Outdoor‑rated speakers (see product recommendations below)
- Weather‑proof speaker mounts and cable protectors
- Power source (generator or outdoor‑rated extension cords)
- Screen or white sheet, and a sturdy frame
Step 1: Prepare the Projection Area
First, select a flat surface that receives ample sunlight during daytime and can be shaded for evening events. Set up a screen or tensioned white sheet on a stable frame, ensuring that it is level and securely anchored. Connect the projector to a power source and test the image quality from the intended viewing distance. Adjust the focus and keystone settings until the picture is sharp across the entire screen.
Step 2: Choose and Position Outdoor Speakers
Clear and balanced audio is essential for both the film soundtrack and live commentary. The KICKER KB6B Indoor/Outdoor Speakers provide a rugged, weather‑proof solution with a 6.5‑inch woofer and dual 5‑inch horn tweeters, delivering 75 W RMS power. Priced at $169.99 and rated 4.6/5 from 1,571 reviews, they are praised for strong bass response and easy mounting. Their UV‑treated enclosure makes them suitable for placement on walls, ceilings, or even as bookshelf speakers using the included rubber feet. Install one pair on either side of the screen at ear level for the audience, using the supplied mounting hardware to achieve optimal coverage.
For listeners who prefer a more refined soundstage, the Polk Audio Atrium 4 Outdoor Speakers offer a compact design with a 4.5‑inch dynamic balance woofer and a 3/4‑inch aluminum dome tweeter. At $249.00 and a rating of 4.6/5 from 6,007 reviews, they are noted for exceptional clarity and all‑season durability. The Speed‑Lock mounting system allows one‑handed installation, which can be advantageous when mounting in tight spaces. Use these speakers in areas where space is limited, such as under eaves or on narrow balcony railings, to provide balanced mid‑range and high‑frequency coverage.
Both speaker options include weather‑resistant finishes, but it is advisable to add additional protective covers if the equipment will remain exposed for extended periods. Selecting the appropriate speaker depends on the size of the audience area, desired bass performance, and aesthetic preferences.
Step 3: Set Up the Wireless Microphone System
A reliable wireless microphone ensures that the commentator’s voice is transmitted without interference. Choose a system that operates in the UHF band to minimize congestion from nearby devices. Connect the receiver to the audio mixer using balanced XLR cables, and place the receiver within line‑of‑sight of the transmitter to maintain signal strength. Perform a sound check by speaking at normal volume and adjusting the gain on the mixer until the commentary is clear and free of distortion.
Step 4: Connect the Audio Mixer to the Speakers
The audio mixer acts as the central hub for blending the film’s soundtrack with live commentary. Route the mixer’s main output to the speakers using high‑quality speaker cables, ensuring that polarity is consistent to avoid phase cancellation. If using the KICKER speakers, match the 8‑ohm load to the mixer’s output rating to achieve optimal power delivery. For the Polk Atrium speakers, verify that the binding posts are securely tightened to the gold‑plated 5‑way connectors for a solid connection.
Set the mixer's master volume low initially, then gradually increase it while monitoring the balance between the movie audio and the commentator’s voice. Use the mixer's equalizer to attenuate any frequencies that clash with the commentary, typically reducing low‑mid frequencies that may mask speech intelligibility.
Step 5: Synchronize Audio and Video
Latency can cause the commentary to drift out of sync with the on‑screen action, which reduces the overall experience. To minimize delay, use a projector with low‑input‑lag specifications and a microphone system that advertises sub‑100 ms transmission latency. Connect the projector’s HDMI output to a video splitter that also feeds a small monitor for the commentator to watch the film in real time.
During the initial test, start the film and speak a few lines while watching the monitor. If the commentary lags, adjust the audio delay setting on the mixer or use a digital delay box to align the timing. Record a short segment and play it back to verify that the audio and video are perfectly synchronized before the public event begins.
Step 6: Prepare Power and Cabling
Outdoor events often require extended cabling, which must be protected from moisture and tripping hazards. Use outdoor‑rated extension cords with grounded plugs for the projector, mixer, and speakers. Run cables through conduit or waterproof cable covers, and secure them with zip ties to prevent movement. If a reliable mains supply is unavailable, a quiet inverter generator can provide clean power without introducing audible noise.
Step 7: Conduct a Full Dress Rehearsal
A comprehensive rehearsal identifies potential issues that may arise during the live event. Run the entire setup from power‑on to shutdown, simulating the full length of the film. Verify that the commentator’s microphone maintains a stable signal throughout the venue, and that the speakers deliver consistent volume across the audience area.
Invite a small group of friends to act as test audience members, and solicit feedback on audio clarity, volume balance, and overall comfort. Make any necessary adjustments to speaker placement, mixer levels, or microphone gain based on the feedback received.
Tips & Pro Tips
- Weather Planning: Check the forecast and have a tarp or canopy ready to shield equipment from unexpected rain.
- Backup Power: Keep a portable battery pack for the microphone receiver in case of a power interruption.
- Speaker Calibration: Use a sound level meter to measure SPL at several audience points, aiming for 85‑95 dB during peak moments.
- Microphone Technique: Encourage the commentator to maintain a consistent distance from the microphone to avoid sudden volume spikes.
- Audience Interaction: Provide a brief pre‑show announcement explaining how the live commentary will enhance the viewing experience.
Troubleshooting
Problem: Audio feedback loop when the commentator speaks.
Solution: Reduce the mixer’s monitor level, relocate the speaker away from the microphone, and enable the microphone’s built‑in noise gate if available.
Problem: Wireless microphone signal drops intermittently.
Solution: Scan for a less congested frequency, ensure the receiver antenna is positioned vertically, and avoid placing large metal objects between transmitter and receiver.
Problem: Speakers produce distorted sound at high volumes.
Solution: Verify that the speaker’s impedance matches the mixer’s output rating, and lower the master volume while increasing the gain on the individual channel if necessary.
Conclusion
Adding live commentary to outdoor screenings transforms a simple movie night into an interactive, educational, and memorable event. By following the steps outlined above, one can select appropriate equipment, configure audio‑video synchronization, and host a professional‑grade presentation. The recommended speakers—KICKER KB6B Indoor/Outdoor Speakers and Polk Audio Atrium 4 Outdoor Speakers—provide reliable sound reinforcement for a variety of venue sizes. With careful planning, attention to detail, and the right tools, any organizer can deliver an engaging outdoor cinema experience that delights audiences and encourages repeat attendance.
Products Mentioned in This Guide
Frequently Asked Questions
What equipment is essential for live commentary at an outdoor screening?
You need a portable projector with HDMI, a wireless microphone system, an audio mixer or receiver, outdoor‑rated speakers, and weather‑proof mounts and cable protectors.
How can I synchronize the commentator’s audio with the video playback?
Connect the microphone receiver to the audio mixer, then route the mixed audio to the speakers and use a delay setting on the mixer or projector to match the video timing.
Should I use a handheld or lapel wireless microphone for outdoor events?
A lapel mic offers hands‑free movement and consistent distance, while a handheld provides better control for dynamic speaking; choose based on the commentator’s preference.
What steps can I take to protect speakers and cables from weather?
Mount speakers in weather‑proof housings, use cable protectors or conduit, and cover all connections with waterproof tape or enclosures.
What are key hosting tips to ensure a smooth live‑commentary screening?
Test all gear before the event, conduct a quick sound check, monitor audio levels during the show, and have backup batteries or a generator on hand.