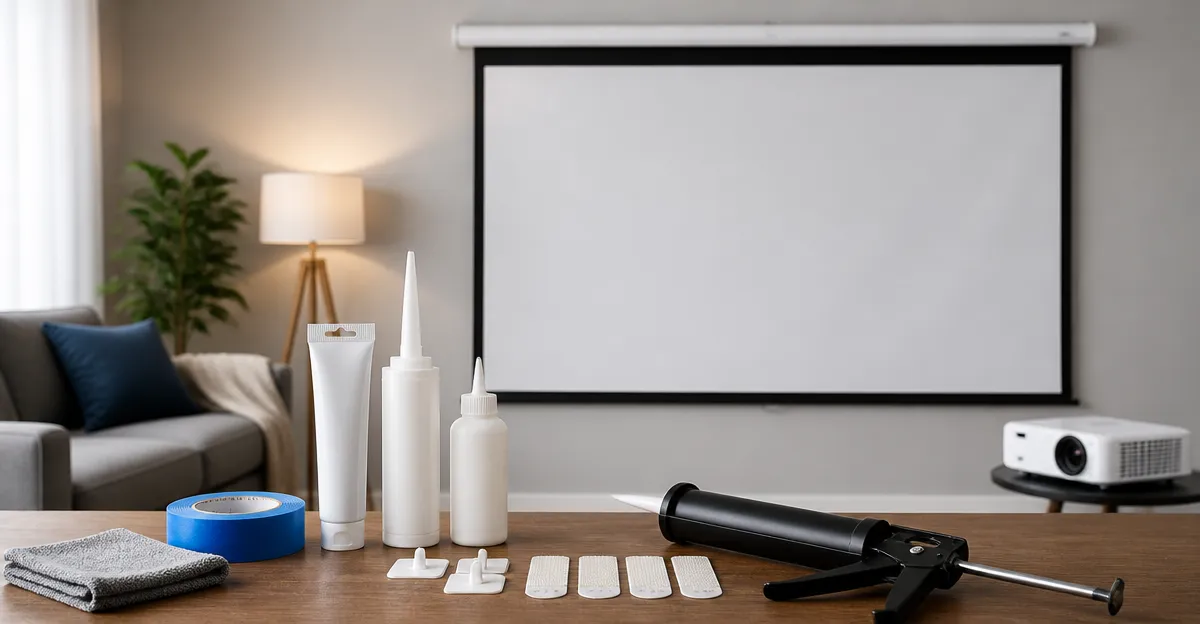
How to Choose and Use Rental‑Safe Adhesives for Projector Screens: Removable, Damage‑Free Installation Tips
Introduction
Installing a projector screen in a rental space can be challenging because traditional hardware often violates lease agreements. This guide explains how to achieve a professional‑looking installation without drilling, nailing, or leaving permanent marks. Readers will learn how to assess wall conditions, select the appropriate adhesive, and apply it correctly for lasting performance. By the end of the article, one will be equipped to mount a screen confidently while preserving the integrity of the walls.
What You'll Need
- Measuring tape and level
- Cleaning supplies (rubbing alcohol, lint‑free cloth)
- Surface preparation tools (sponge, mild detergent)
- Rental‑safe adhesive products (see recommendations below)
- Protective gloves and safety glasses
Step 1: Prepare the Wall Surface
Begin by clearing the area where the screen will be mounted, removing any furniture or décor that could obstruct work. Dust, grease, and residual paint can compromise adhesive bonding; therefore, clean the wall with a cloth dampened with rubbing alcohol and allow it to dry completely. Verify that the indoor temperature is between 50°F and 105°F, as extreme temperatures reduce adhesive performance. For smooth painted walls, the Command Medium Picture Hanging Strips work best because they adhere firmly to cleaned surfaces while remaining removable.
Step 2: Measure and Mark the Installation Area
Use a measuring tape to determine the exact height and width of the projector screen, then transfer those dimensions onto the wall with a pencil. Employ a level to draw a straight horizontal line that will serve as the top edge of the screen, ensuring the final display is perfectly level. Mark the corners where each adhesive strip will be placed; spacing them evenly distributes the load and prevents sagging. Accurate markings reduce the need for repositioning, which can weaken the adhesive over time.
Step 3: Choose the Correct Adhesive for Your Screen Weight
Projector screens vary in weight from lightweight fabric panels to heavy‑frame models. For screens up to 10 lb, the Command Medium Picture Hanging Strips provide a reliable hold and are rated for 10 lb per pair. If the screen exceeds 10 lb but remains under 20 lb, consider the Command XL Heavyweight Strips, which support up to 20 lb per pair and offer a larger surface area for better distribution. For the heaviest frames (up to 16 lb per four‑strip set), the Command Large Picture Strips are ideal, delivering a strong bond on a variety of smooth surfaces. When a universal solution is preferred, the 3M Double Sided Tape offers 17 lb/in² peel adhesion and can be trimmed to fit any shape.
Step 4: Apply the Adhesive Correctly
Separate the adhesive backing and press the strip firmly onto the marked wall area for at least 30 seconds, ensuring full contact. For foam‑based products such as the 3M Double Sided Tape, apply even pressure across the entire length to eliminate air bubbles that could reduce holding power. Allow the adhesive to cure for the recommended time—generally 24 hours for foam tape and seven days for painted surfaces before loading weight. This waiting period permits the adhesive to achieve up to 90 % of its ultimate strength, preventing premature failure.
Step 5: Mount the Projector Screen
Align the screen with the previously applied adhesive strips, pressing the frame or backing onto the wall with steady, even pressure. For larger screens, work from the center outward to avoid misalignment; the adhesive’s interlocking design will lock the strips together, keeping the screen level. If using the vimiroo Double Sided Tape, cut the tape to the exact length of each mounting point, then press firmly to achieve a clean, invisible bond. Once the screen is attached, step back and verify that it remains level; adjust only if necessary, as repeated repositioning can diminish adhesive strength.
Step 6: Test and Adjust the Installation
After the adhesive has fully cured, gently test the screen by applying light pressure at the corners to confirm a secure hold. Hang a lightweight object (such as a piece of cardboard) temporarily to simulate the screen’s tension before installing the actual unit. If any strip shows signs of lifting, remove it carefully by pulling straight down, clean the area, and reapply a fresh strip. This proactive testing ensures that the screen will remain safely mounted during regular use and when the projector is moved.
Tips & Pro Tips
- Always clean the surface with rubbing alcohol; residual dust reduces adhesive bonding.
- Maintain indoor temperatures between 50°F and 105°F during installation for optimal performance.
- When mounting on textured surfaces, consider a primer or a thin layer of removable mounting putty to improve contact.
- For renters, keep the original packaging and instructions; they serve as proof that the installation is reversible.
- Use a utility knife to trim excess tape for a neat appearance, especially with the vimiroo Double Sided Tape which comes in long rolls.
Troubleshooting
Problem: Adhesive fails to hold after a few days.
Solution: Verify that the wall was properly cleaned and that the temperature was within the recommended range. Re‑apply a fresh strip after cleaning the surface again.
Problem: Visible residue after removal.
Solution: Use a gentle adhesive remover or warm, soapy water; avoid abrasive scrubbing which could damage the paint.
Conclusion
Choosing the right rental‑safe adhesive and following a systematic installation process enables a secure, damage‑free projector screen setup. By preparing the wall, measuring accurately, selecting an appropriate product, and allowing proper curing time, one can avoid common pitfalls and protect the landlord's property. The recommended tools—ranging from Command Medium Picture Hanging Strips to vimiroo Double Sided Tape—provide versatile solutions for various screen weights and surface types. Implement these steps, and enjoy a high‑quality viewing experience without compromising your lease agreement.
Products Mentioned in This Guide
Frequently Asked Questions
What makes an adhesive "rental‑safe" for projector screens?
Rental‑safe adhesives are removable, leave no residue, and don’t require drilling or nails, protecting walls and complying with lease terms.
How should I prepare a wall before applying a rental‑safe adhesive?
Clean the area with rubbing alcohol or mild detergent, remove dust and grease, and ensure the surface is dry and smooth for optimal bonding.
Which types of adhesives work best for different wall materials?
For painted drywall use acrylic‑based removable tapes; for smooth surfaces like glass or tile, opt for silicone‑free, low‑tack mounting squares.
Can the adhesive be removed without damaging paint or wallpaper?
Yes—most rental‑safe adhesives release with gentle heat or a steady pull, leaving no marks when removed according to the manufacturer’s instructions.
How long can a rental‑safe adhesive hold a projector screen securely?
When applied correctly, these adhesives can support a screen for the duration of a typical lease, usually several months, without slippage.