How to Safely Manage Outdoor Projector Cables: Weatherproof, Conceal & Prevent Trip Hazards
Introduction
One will learn how to protect, hide, and organise cables for an outdoor projection system while maintaining signal integrity and safety. The guide explains why proper cable management reduces weather‑related failures, eliminates tripping risks, and prolongs equipment lifespan. Readers will discover practical steps that combine inexpensive accessories with professional‑grade tools. By following the instructions, one can create a reliable outdoor cinema that operates year after year without frequent maintenance.
What You'll Need
- High‑quality HDMI cable capable of 8K@60Hz and 4K@120Hz – Highwings Ultra High Speed 8K HDMI Cable
- Durable 10‑foot power cord for mini projectors – Narpendu 10Ft Mini Projector Power Cord
- Outdoor‑rated cable conduit or split‑tube (PVC or metal)
- Weather‑proof cable glands and sealants
- Cable ties, Velcro straps, and mounting clips
- Ground‑fault circuit interrupter (GFCI) outlet or surge protector
- Non‑slip floor mats or cable ramps for high‑traffic areas
Step 1: Plan the Cable Path
One should begin by sketching the projector's location, screen position, and the nearest power source. Identify obstacles such as garden beds, walkways, and furniture, then choose the shortest route that avoids foot traffic. Planning reduces the length of cable required, which in turn lowers signal attenuation. Mark the intended path with chalk or removable tape before any cutting or drilling begins.
Step 2: Select the Appropriate HDMI Cable
For outdoor use, the HDMI cable must support high bandwidth and resist environmental stress. The Highwings Ultra High Speed 8K HDMI Cable provides 48 Gbps bandwidth, enabling 8K@60 Hz and 4K@120 Hz video streams without frame drops. Its braided nylon jacket offers military‑grade tensile strength, protecting the conductors from abrasion and kinking when routed through conduit. Priced at $5.99 with a 4.7‑star rating from over 43,000 reviews, it delivers premium performance at a budget price, making it ideal for permanent outdoor installations.
Step 3: Choose a Reliable Power Source
Outdoor projectors require stable AC power; fluctuations can cause flicker or damage sensitive electronics. The Narpendu 10Ft Mini Projector Power Cord offers a pure‑copper core with low resistance, ensuring efficient current delivery over its 10‑foot length. Its IEC‑60320 C7 to NEMA 1‑15P connector is compatible with most mini projectors, and the UL‑listed construction provides flame‑retardant protection. At $9.99 and a 4.6‑star rating from 92 reviews, this cord balances durability and flexibility for outdoor environments.
Step 4: Install Weather‑Proof Conduit
Running cables through outdoor‑rated conduit shields them from rain, UV exposure, and accidental cuts. Measure the conduit length based on the path planned in Step 1, then cut the PVC or metal tubing accordingly. Use a conduit bender for smooth curves, ensuring the bend radius exceeds the cable's minimum specification to avoid stress. Secure the conduit to walls or stakes with zip ties, leaving access points for future maintenance.
Step 5: Seal Cable Entry Points
Where the HDMI and power cables enter the projector housing, install cable glands that match the cable diameter. Apply silicone sealant around the gland to create a watertight barrier. This prevents moisture ingress, which can cause corrosion or short circuits. Verify that the seal remains intact after a light rain test before proceeding.
Step 6: Organise and Conceal Cables
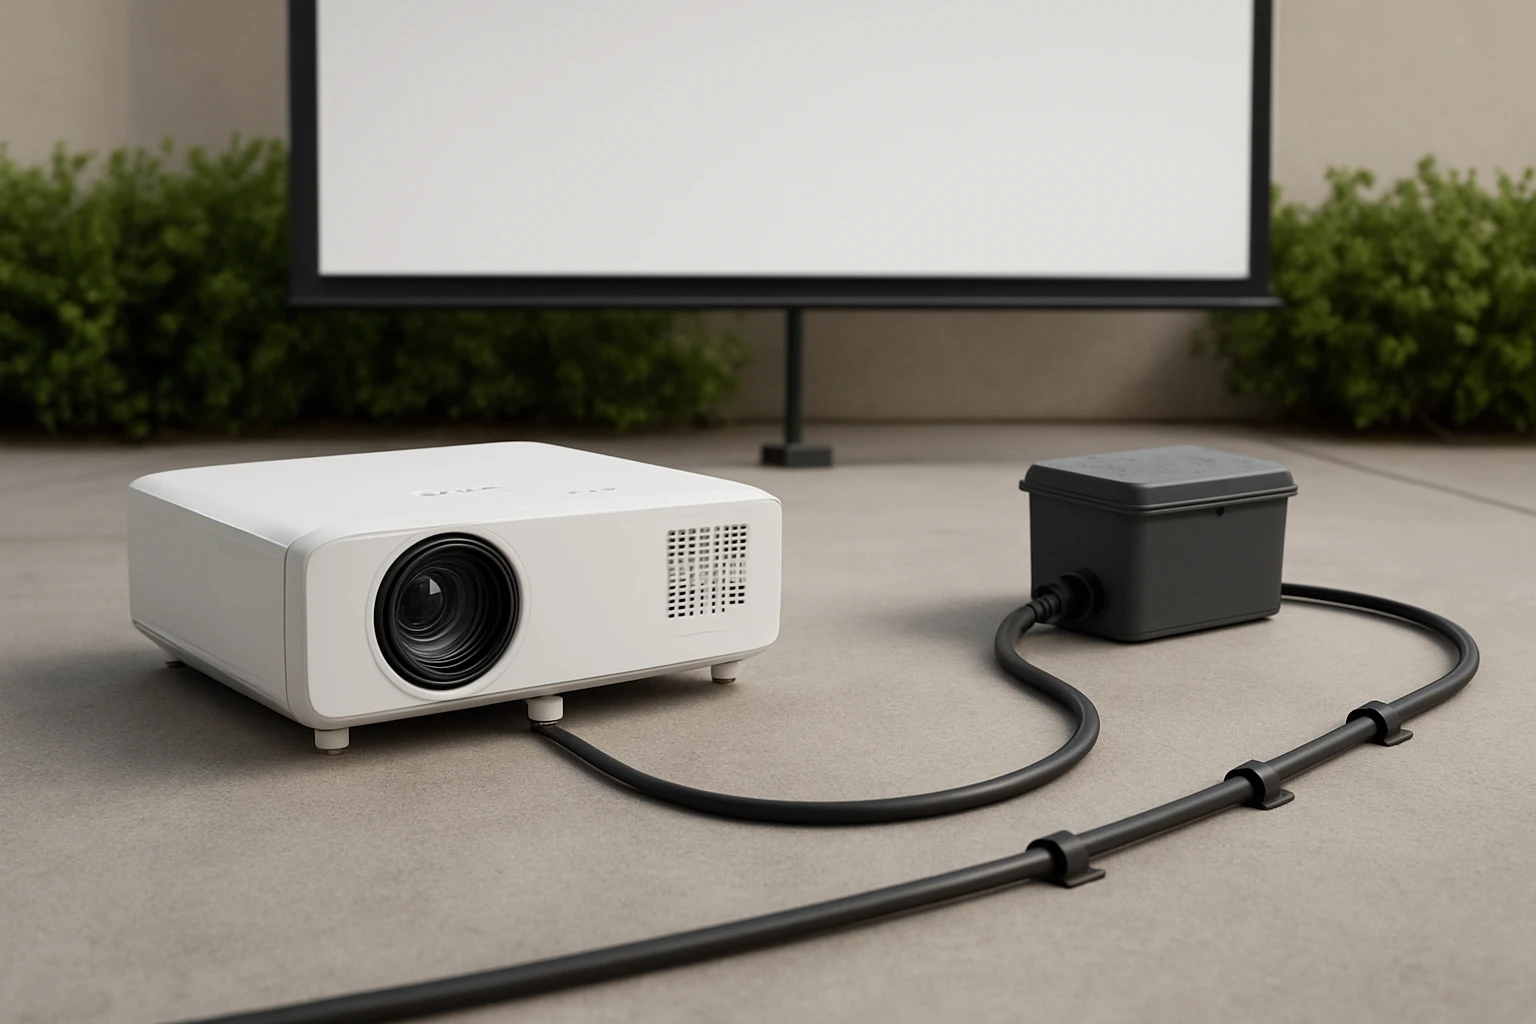
Use Velcro straps or cable ties to bundle excess length, keeping the run tidy. For sections that cross walkways, lay the cables inside a non‑slip floor mat or a low‑profile cable ramp. This prevents tripping while allowing the cables to breathe, reducing heat buildup. Ensure that any exposed sections are covered with UV‑resistant cable sleeves.
Step 7: Connect to a GFCI Outlet
Outdoor electrical connections must be protected by a ground‑fault circuit interrupter. Plug the power cord into a GFCI‑protected outlet or a surge‑protecting power strip placed inside a weather‑proof box. Test the GFCI by pressing the test button; the outlet should cut power immediately, confirming proper operation. This safety measure reduces the risk of electric shock in wet conditions.
Step 8: Verify Signal Integrity
Power on the projector and source device, then select a high‑resolution test pattern that includes 4K@120 Hz and HDR10 content. Observe the image for dropped frames, colour banding, or signal loss. If any issues arise, check the HDMI cable for tight connections and ensure the conduit has not introduced sharp bends. The Highwings cable's robust construction typically eliminates these problems when installed correctly.
Step 9: Perform a Weather Test
Before the first public screening, simulate a light rain by gently misting the cable run with a spray bottle. Monitor the projector for any flicker or shutdown. Inspect the sealed entry points for water ingress. If the system remains stable, the installation is ready for real outdoor use.
Tips & Pro Tips
- Label each cable with weather‑proof tags to simplify future troubleshooting.
- Use a cable reel for the HDMI line when the projector is moved frequently; this prevents wear at the connector.
- Consider adding a small desiccant packet inside the conduit to absorb residual moisture.
- Schedule quarterly inspections to check for UV cracking or rodent damage.
Troubleshooting
No picture on the screen: Verify that the HDMI cable is fully seated on both ends and that the projector input source matches the cable. Replace the cable with a known‑good unit to rule out cable failure.
Intermittent signal loss during rain: Inspect the cable glands for proper sealing. Apply additional silicone sealant if gaps are visible.
Power trips on GFCI: Ensure the power cord is not damaged and that the outlet is not overloaded with other devices.
Conclusion
One has learned how to plan, protect, and conceal outdoor projector cables using weather‑proof conduit, high‑performance HDMI and power cords, and safety accessories. By following each step, the installation will deliver reliable high‑definition video, remain safe for viewers, and require minimal maintenance. Proper cable management transforms a simple backyard movie night into a professional‑grade outdoor cinema experience.
Products Mentioned in This Guide


Frequently Asked Questions
What type of HDMI cable is recommended for outdoor projector setups?
Use a high‑quality, outdoor‑rated HDMI cable that supports 8K@60Hz or 4K@120Hz, such as the Highwings Ultra High Speed 8K HDMI Cable.
How can I protect cables from rain and UV exposure?
Run cables through weather‑proof conduit or split‑tube and seal any entry points with cable glands and UV‑resistant sealant.
What’s the best way to hide cables to avoid visual clutter?
Conceal cables inside PVC or metal conduit buried slightly below ground or mounted behind a screen frame, then cover with paint‑matched caps.
How do I prevent tripping hazards around the outdoor cinema area?
Secure cables to the ground with flat cable ties or Velcro straps and keep them tucked under a low‑profile cable cover or mat.
Are there specific power cords I should use for mini projectors outdoors?
Choose a durable, outdoor‑rated power cord like the Narpendu 10‑ft Mini Projector Power Cord, which can handle exposure to moisture and temperature changes.