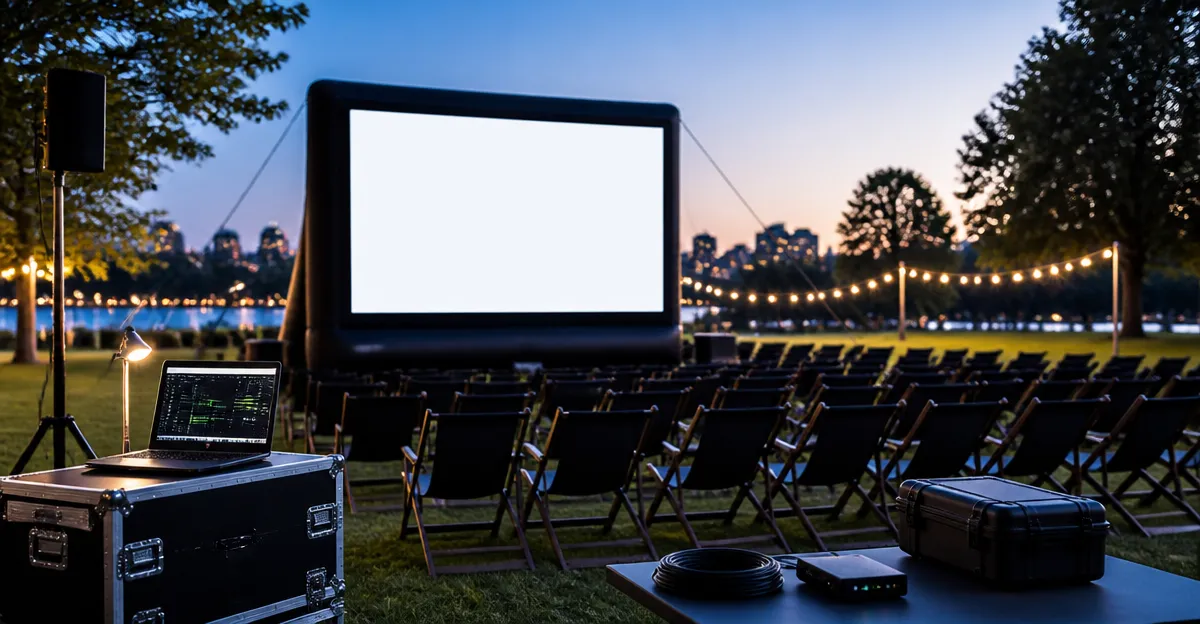
How to Set Up Open Captions for Outdoor Screenings: A Step‑by‑Step Accessibility Guide
Introduction
Providing open captions during outdoor screenings transforms a simple gathering into an inclusive experience for viewers who are deaf or hard of hearing. One will learn how to select caption files, configure playback hardware, and test the final display so that the text appears clearly on a large screen. This guide emphasizes practical tools, safety considerations, and real‑world examples that can be applied by community organizers, schools, or small festivals. By the end of the article, the reader will possess a reliable workflow that can be reused for any future event.
What You’ll Need
- Projector or large‑screen display with HDMI input.
- Media player capable of overlaying subtitle files (e.g., a laptop, media PC, or dedicated video player).
- Open caption file in .srt or .ass format.
- Audio source for the film (optional but recommended for synchronization).
- Power strips, extension cords, and outdoor‑rated surge protectors.
- Sample video content for testing – one may use titles such as Captain Underpants, The Girl Who Kicked the Hornet's Nest, or Warriors of the Rainbow. These movies provide closed‑caption files that can be converted to open captions for practice.
Step 1: Select a Caption Source
The first task is to obtain a high‑quality caption file that matches the video content. One should download an existing .srt file from a reputable subtitle repository or extract it from a streaming service that provides subtitles. When using a test title such as Captain Underpants, the subtitle file is often bundled with the DVD or Blu‑ray version, ensuring accurate timing. If a caption file is not available, one can create it manually using software like Aegisub, but this requires additional time and attention to detail. Selecting a reliable source reduces the likelihood of synchronization errors during the live event.
Step 2: Prepare the Video and Caption Files
Once the subtitle file is secured, the next step is to merge it with the video so that the captions appear permanently (open captions). This can be accomplished with free tools such as HandBrake or FFmpeg. For example, using HandBrake, one loads the video file, adds the .srt file under the “Subtitles” tab, and checks the “Burn In” option to embed the text. The process is straightforward, yet it is essential to verify that the font size, color, and background contrast are appropriate for outdoor viewing; white text with a thin black outline works well against a dark sky. Testing the merged file on a laptop before the event ensures that the captions are legible from a distance.
Step 3: Choose Playback Hardware
Reliable playback hardware is critical because any lag or freeze will disrupt the caption synchronization. A modern laptop equipped with an HDMI output and a media player such as VLC is a common solution. For larger productions, a dedicated media server like the Amazon Music device (which also functions as a media hub) can store multiple video files and stream them directly to the projector. This device offers built‑in Wi‑Fi, a compact form factor, and a price point that is competitive for community budgets. Although the exact price is not listed, the product is marketed as an affordable streaming solution with positive user reviews.
Step 4: Connect the Audio Source
Open captions are only part of the accessibility equation; clear audio remains essential for viewers who can hear. One should connect an external speaker system to the same audio output used by the playback device. If the playback device is a laptop, a 3.5 mm jack or Bluetooth speaker can be employed. For the Amazon Music streaming unit, the built‑in speaker array provides decent volume, but external speakers are recommended for larger outdoor spaces. Synchronizing the audio and video streams is easier when both are sourced from a single device, reducing the risk of drift between the spoken dialogue and the on‑screen captions.
Step 5: Set Up the Projection System
The projector must be positioned to cast a clear image onto a screen or white sheet that is large enough for the audience. One should use a tripod or mounting rig that is stable against wind, and run the HDMI cable through a weather‑proof conduit. A short power strip with a built‑in surge protector protects the equipment from sudden voltage spikes, which are common during outdoor events. If the venue lacks a permanent screen, a portable inflatable screen can be inflated and anchored securely; the screen surface should be matte to avoid glare that could obscure the captions. Once the hardware is in place, one should run a quick test of the video file to confirm that the open captions are visible from the furthest seat.
Step 6: Conduct a Full‑Scale Test
Before the audience arrives, a full rehearsal is indispensable. One should dim the ambient lighting to simulate the evening conditions, then play the merged video file while observing the caption readability from multiple angles. If the text appears washed out, adjusting the projector’s brightness or increasing the caption font size in the source file may be necessary. It is also advisable to have a volunteer with a hearing impairment review the test run, as they can provide direct feedback on caption timing and legibility. Addressing any issues now prevents disruptions during the actual screening.
Tips & Pro Tips
- Use a high‑contrast caption style: white text with a thin black outline works well against both bright and dark backgrounds.
- Store caption files on a USB flash drive formatted in exFAT to ensure compatibility with both Windows and macOS playback devices.
- When possible, select a projector with a native resolution of at least 1080p; higher resolution yields sharper text.
- Consider using a portable generator with a clean sine‑wave output if the venue lacks reliable electricity.
- Document the exact FFmpeg command line used to burn the captions; this makes it easy to reproduce the process for future events.
Troubleshooting
Captions are out of sync with audio. This often occurs when the video file has variable frame rate. Re‑encode the video to a constant frame rate (e.g., 30 fps) using HandBrake before burning the subtitles.
Text is unreadable from a distance. Increase the font size in the subtitle file and add a semi‑transparent background box to improve contrast. Some subtitle formats, such as .ass, allow styling directly within the file.
Projector flickers or loses signal. Verify that the HDMI cable is rated for outdoor use and that the connectors are firmly seated. Replacing a cheap cable with a high‑quality, shielded cable often resolves the issue.
Conclusion
Setting up open captions for outdoor screenings does not require specialized equipment; with careful preparation, any community organizer can deliver an accessible experience. By selecting reliable caption files, merging them with video, and testing the entire signal chain, one ensures that every audience member can enjoy the content. The tools highlighted in this guide, such as the Amazon Music media hub and the sample movies, simplify the workflow and provide affordable alternatives to professional captioning services. One is encouraged to apply these steps to future events, thereby fostering a more inclusive cultural environment.
Products Mentioned in This Guide
Frequently Asked Questions
What file formats are supported for open captions in outdoor screenings?
Open captions typically use .srt or .ass files, which most media players and projectors can overlay onto video.
Can I use a regular laptop as a media player for open captions?
Yes, a laptop with HDMI output and subtitle support can serve as a media player for open captions.
Do I need an audio source if I’m only displaying captions?
While optional, an audio source helps synchronize captions with the video and improves the overall experience.
What equipment is essential for powering outdoor caption setups safely?
Use power strips, extension cords, and outdoor‑rated surge protectors to protect equipment from weather and voltage spikes.
How do I test caption visibility before the actual event?
Run a short test clip on the projector, checking that caption size, contrast, and timing are clear from typical viewing distances.