Introduction
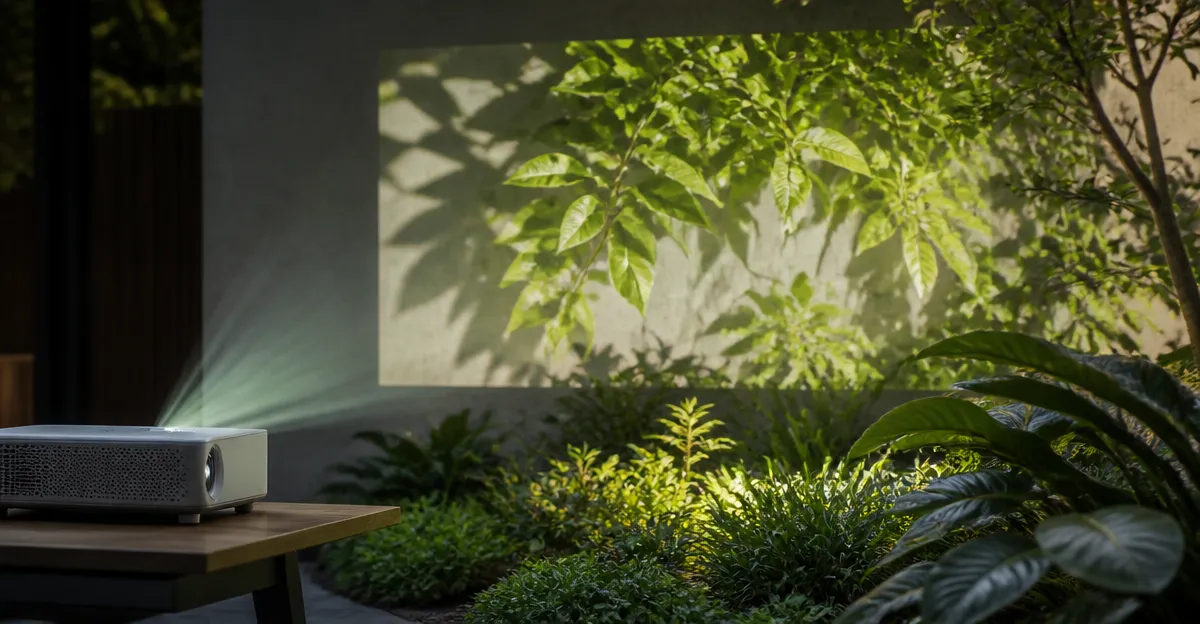
This guide explains how to achieve clear, colorful images when projecting onto grass, leaves, or other natural surfaces. Readers will discover how to select the appropriate projector, prepare the environment, connect streaming sources, and fine‑tune settings for optimal performance. The techniques apply to backyard movie nights, garden parties, and even temporary outdoor presentations, providing reliable results without the need for expensive screens.
What You’ll Need
- Portable projector with auto‑focus and keystone correction (see product recommendations below)
- Stable tripod or flat surface
- Power source or portable battery pack
- Wi‑Fi or Bluetooth connection for streaming
- Optional external speakers for louder audio
- Cleaning cloth for the lens
Step 1: Choose the Right Projection Device
The most critical factor is the projector itself. A unit that offers native 1080p resolution, reliable auto‑focus, and built‑in streaming apps reduces the number of external components required. For premium performance, the WiMiUS 4K Smart Outdoor Projector provides 600 ANSI lumens, HDR10 support, and Dolby Hi‑Fi audio, making it ideal for larger lawns where ambient light may be a concern. Its dual HDMI ports and Wi‑Fi 6 connectivity ensure smooth playback from multiple sources.
For a more budget‑friendly option, the HAPPRUN 1080P Outdoor Projector delivers native 1080p resolution, Bluetooth 5.1, and a compact form factor at a price under $85. Its lightweight design makes it easy to transport to remote locations.
If portability and built‑in apps are paramount, the YGSKK Mini Smart Projector offers Wi‑Fi 6, Bluetooth 5.3, and a 200‑inch screen capability while weighing less than 2 kg.
Each of these models includes auto‑focus and keystone correction, features that are essential when projecting onto uneven natural surfaces.
Step 2: Prepare the Projection Surface
Grass and foliage are not perfectly flat, so the image can become distorted if the projector is positioned too close or at a steep angle. Follow these actions:
- Choose a relatively even patch of grass, preferably trimmed to a short length.
- If possible, lay a matte white sheet or a portable projection screen on the ground. The sheet reduces light diffusion and improves contrast.
- Position the projector at a distance that yields a 100‑150‑inch image, which typically falls between 8‑12 feet for the devices listed.
- Use the projector’s auto‑keystone function to correct any trapezoidal distortion caused by the angle of projection.
For example, the Aurzen Roku TV Smart Projector automatically adjusts keystone within seconds, allowing you to focus on placement rather than manual calibration.
Step 3: Control Ambient Light
Natural light is the greatest adversary of outdoor projection. Implement these measures to maximize image vibrancy:
- Schedule the viewing after sunset or during twilight.
- Use blackout curtains or portable shade sails if the projection area is near a bright wall.
- Turn off nearby garden lights that emit a cool white hue; warm LED lanterns create a more cinematic atmosphere.
- Choose a projector with higher brightness. The WiMiUS 4K Smart Outdoor Projector offers 600 ANSI lumens, which is sufficient for moderate twilight conditions.
Step 4: Connect Streaming Sources
All recommended projectors include built‑in apps, but you may also prefer external streaming sticks. Follow these steps:
- Connect the projector to your home Wi‑Fi network using the on‑screen menu.
- If the projector’s app store lacks a specific service, insert a Fire TV Stick, Chromecast, or Roku stick into one of the HDMI ports.
- For the Aurzen Roku TV Smart Projector, the Roku platform already provides access to Netflix, Prime Video, Hulu, and over 500 free channels without additional hardware.
- Enable Bluetooth pairing if you wish to use wireless headphones or external speakers.
Step 5: Fine‑Tune Image Settings
Even on grass, you can achieve a crisp picture by adjusting a few parameters:
- Focus: Use the auto‑focus button; most models (Aurzen, WiMiUS, ONOAYO) lock focus within three seconds.
- Brightness Mode: Select “High” mode for daylight or “Standard” for night‑time viewing.
- Color Temperature: Warm the image slightly to compensate for the greenish hue of grass.
- Sharpness: Increase modestly; excessive sharpening creates halo artifacts on foliage.
The ONOAYO 4K Smart Outdoor Projector includes AI‑driven image optimization that automatically adjusts these settings based on ambient light, reducing manual effort.
Step 6: Optimize Audio for Outdoor Use
Open‑air environments disperse sound quickly. While the built‑in speakers of most projectors are adequate for a small backyard, larger gatherings benefit from external audio:
- Pair the projector with Bluetooth speakers using the integrated Bluetooth 5.2 (Aurzen, WiMiUS, ONOAYO) for wireless convenience.
- If you own a soundbar with HDMI ARC, connect it to the projector’s HDMI‑ARC port (available on WiMiUS and ONOAYO) for synchronized, high‑fidelity audio.
- For budget setups, the HAPPRUN projector’s built‑in Hi‑Fi stereo speakers provide clear audio without additional equipment.
Tips & Pro Tips
- Lens Maintenance: Clean the projection lens every three months with a microfiber cloth to prevent dust spots that become noticeable on dark foliage.
- Wind Consideration: Secure the projector on a stable tripod; a gentle breeze can shift a lightweight unit and disrupt focus.
- Battery Power: For locations without electricity, use a high‑capacity portable battery pack (minimum 20 Ah) to run the projector for up to four hours.
- Screen Enhancement: If the natural surface is too uneven, a portable inflatable screen can be anchored to a fence, providing a flat reference plane while still retaining the outdoor ambience.
Troubleshooting
| Problem | Possible Cause | Solution |
|---|---|---|
| Image appears blurry | Lens dirty or focus not locked | Clean the lens, activate auto‑focus, and ensure the projector is level. |
| Colors look washed out | Excessive ambient light | Increase projector brightness mode, use a darker surface, or wait for darker conditions. |
| Audio cuts out | Bluetooth interference | Move the speaker closer, reduce other wireless devices, or switch to a wired audio connection. |
Conclusion
Projecting onto grass and foliage is entirely feasible when the right equipment, surface preparation, and environmental controls are employed. By selecting a capable projector, managing ambient light, and fine‑tuning focus and audio, users can enjoy cinematic experiences in any backyard or garden. The steps outlined above empower readers to create memorable outdoor screenings without the need for permanent screens.
Products Mentioned in This Guide
Frequently Asked Questions
What type of projector works best for projecting onto grass and foliage?
A portable projector with native 1080p resolution, auto‑focus, and keystone correction provides the clearest image on uneven natural surfaces.
How can I improve image brightness when projecting outdoors?
Use a high‑lumens projector (3000+ lm), position it close to the surface, and choose a dark, low‑ambient lighting environment.
Do I need a screen for outdoor projection onto grass?
No, a smooth, dry patch of grass or foliage can serve as a natural screen if the projector’s brightness and focus are properly set.
What is the best way to power a portable projector for a backyard movie night?
Connect the projector to a reliable AC outlet or use a high‑capacity portable battery pack with sufficient wattage.
How do I ensure stable audio for outdoor projections?
Pair the projector with external Bluetooth or wired speakers placed near the viewing area for clear, louder sound.