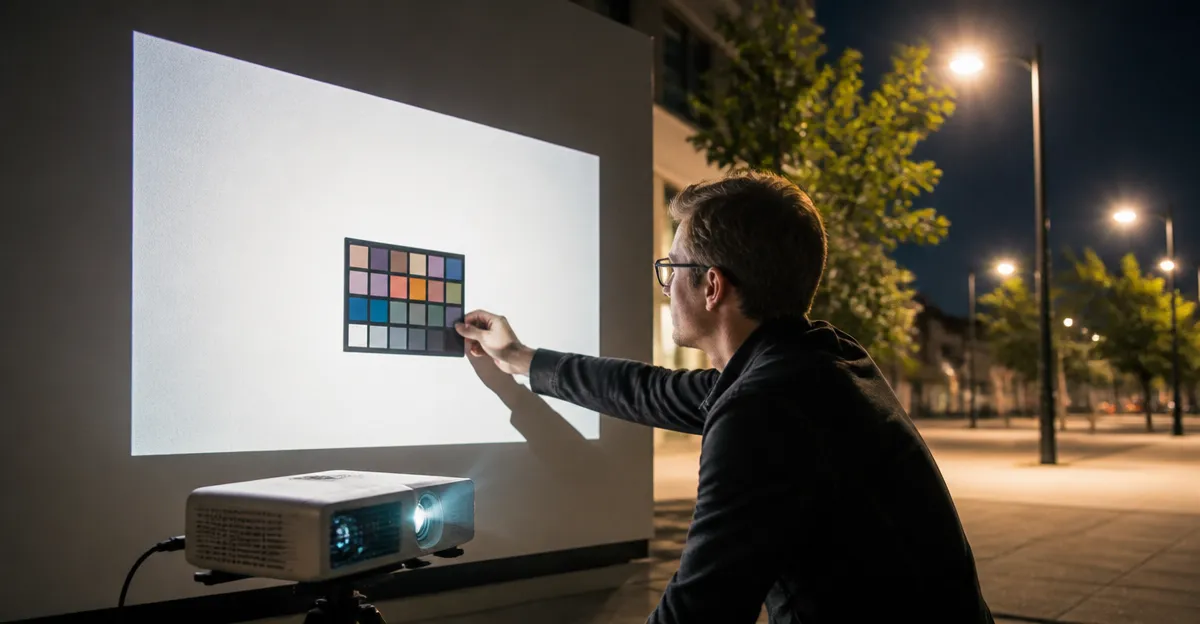
How to Calibrate Projector White Balance for Accurate Colors under Streetlights
Introduction
Projectors are frequently used for outdoor presentations, art installations, and pop‑up cinema events where ambient streetlights can shift perceived colors. This guide explains how to achieve a neutral white point despite fluctuating illumination, ensuring that reds remain vivid, blues stay true, and skin tones appear natural. Readers will learn a systematic workflow, the importance of measuring ambient light, and how to use professional calibration hardware to produce repeatable results. By following the steps, one can reduce color drift, improve audience perception, and protect the longevity of the projector through proper settings.
What You'll Need
- A high‑luminance colorimeter such as Calibrite Display Pro HL
- A spectrophotometer for comprehensive profiling, for example Calibrite ColorChecker Studio
- A budget‑friendly alternative like Calibrite Display 123 (optional)
- Optional advanced calibrator Datacolor SpyderPro for multi‑device setups
- Optional professional grade Datacolor Spyder4Elite for studios requiring fine‑tuned control
- A stable tripod or mounting bracket for the projector
- Ambient light meter (built into the colorimeter) and a dark cloth to cover the screen during measurement
- Laptop or desktop running Windows 10/11 or macOS 10.14‑14
Step 1 – Assess the Streetlight Environment
Begin by documenting the intensity and color temperature of the surrounding streetlights. Use the high‑luminance sensor of the Calibrite Display Pro HL to capture ambient levels up to 3000 nits, which is essential for bright urban settings. Record the measured lux and note any color casts from sodium‑vapor or LED fixtures. Understanding these variables allows you to set a realistic target white point, typically D65 (6500 K) for video work or D50 (5000 K) for photography displays.
Step 2 – Prepare the Projector and Screen
Power on the projector and allow it to warm up for at least five minutes; thermal stabilization reduces drift during calibration. Position the projector on a tripod or secure mount, ensuring that the lens is centered on the screen. Cover the screen with a matte black cloth except for a central test patch; this minimizes stray reflections from streetlights that could skew measurements. Set the projector to its native resolution and disable any dynamic contrast or color enhancement modes, as these interfere with precise profiling.
Step 3 – Install and Configure Calibration Software
Download the accompanying software for your chosen device. The Calibrite Display Pro HL ships with Calibrite PROFILER, which offers both Basic and Advanced modes. For users seeking an all‑in‑one workflow, the Calibrite ColorChecker Studio also integrates with PROFILER and adds printer and scanner profiling capabilities. Install the software, connect the colorimeter via USB‑C (or the supplied USB‑A adapter), and allow the program to detect the device automatically.
Step 4 – Measure Baseline White Point
Launch the PROFILER software and select the "White Point" measurement option. Place the sensor on the central test patch and start the measurement. The HL sensor’s high‑luminance capability ensures accurate readings even when streetlights contribute significant glare. Record the initial white point values (CIE xy coordinates) and note the delta‑E (color difference) from the target. This baseline will guide subsequent adjustments within the projector's menu.
Step 5 – Adjust Projector Settings Manually
Navigate to the projector's color management menu. Most modern units allow fine‑tuning of red, green, and blue gain, as well as a dedicated white‑balance or color temperature slider. Using the baseline data from Step 4, incrementally modify the settings until the measured white point aligns within ±0.5 ΔE of the target. It is advisable to make small adjustments (e.g., 2‑3%) and re‑measure after each change to avoid overshooting.
Step 6 – Validate Uniformity Across the Screen
After achieving an acceptable central white point, use the "Uniformity Check" feature in PROFILER. The software will guide you to sample several points across the projected image. The HL sensor's built‑in 1/4" mount thread simplifies placement on a small tripod for each spot. Record the variation; a uniformity of less than 2 % across the screen is considered professional grade for outdoor installations. If significant hotspots appear, adjust the projector's keystone or lens shift settings and repeat the measurement.
Step 7 – Create and Save a Calibration Profile
With the projector calibrated, click "Create Profile" in PROFILER. The software will generate an ICC profile that can be applied to the operating system or to video playback applications. Save the profile with a descriptive name such as "Projector_Streetlight_D65.icc". For multi‑projector setups, repeat Steps 1‑6 for each unit and store the profiles in a shared folder; the HL sensor supports profiling multiple displays from a single workstation.
Step 8 – Optional: Use Spectrophotometer for Advanced Workflows
For studios that also produce printed materials, the Calibrite ColorChecker Studio provides spectrophotometric measurement of both the projected image and printed proofs. By placing the ColorChecker Classic Mini in front of the projector, you can generate a custom target that accounts for the specific spectral output of the lamp. This step is valuable when the projector will be used for color‑critical presentations, such as film festivals or product launches.
Tips & Pro Tips
- Perform calibration after sunset when streetlights are at full intensity; ambient conditions change dramatically at twilight.
- Use a neutral gray screen (18% reflectance) to reduce color bias introduced by the screen material.
- If the venue uses mixed lighting (LED and sodium), consider creating separate profiles for each lighting scenario and switch between them as needed.
- For rapid re‑calibration, enable the "Quick Check" feature in PROFILER; it verifies the white point in under a minute.
- When using the Datacolor SpyderPro, take advantage of its projector calibration module, which includes automatic room‑light detection.
- Schedule a full recalibration every 3–4 months, as lamp aging can shift color temperature by several degrees.
Troubleshooting
Problem: White point remains orange after adjustments.
Solution: Verify that the projector is not applying a built‑in “Warm” mode. Disable any dynamic color enhancement and reset the projector to factory defaults before re‑calibrating.
Problem: Uniformity check shows >5 % variation.
Solution: Check the projector lens for dust, clean it carefully, and ensure the screen is flat. Adjust the lens shift or use a keystone correction sparingly, as excessive correction can introduce asymmetrical color shifts.
Problem: Calibration software crashes during profile creation.
Solution: Ensure that the latest version of Calibrite PROFILER is installed. If the issue persists, run the software in Windows compatibility mode or reinstall the driver for the HL sensor.
Conclusion
Calibrating a projector for accurate white balance under streetlights combines careful environmental assessment with precise measurement tools. By following the eight steps outlined above, users can achieve a neutral white point, consistent uniformity, and reliable ICC profiles that survive changing lighting conditions. Whether using the high‑performance Calibrite Display Pro HL or a more budget‑oriented alternative, the principles remain the same: measure, adjust, validate, and document. Implement these practices for every outdoor event, and the audience will experience colors that are true to the creator’s intent.
Products Mentioned in This Guide
Frequently Asked Questions
Why does streetlight illumination affect projector white balance?
Streetlights emit colored light that adds to the projector's output, shifting the perceived white point and causing color casts.
How can I measure ambient streetlight color temperature before calibration?
Use a high‑luminance colorimeter or spectrophotometer to take a reading of the ambient light on the screen surface and note the measured Kelvin value.
What equipment is recommended for calibrating projector white balance outdoors?
A high‑luminance colorimeter like the Calibrite Display Pro HL and, for full profiling, a spectrophotometer such as the Calibrite ColorChecker Studio are ideal.
What are the key steps to adjust white balance for accurate colors under streetlights?
Measure ambient light, set the projector’s white point to D65 or the measured Kelvin value, fine‑tune RGB gains, and verify with test patterns.
How often should I recalibrate my projector when using it in varying streetlight conditions?
Recalibrate before each major event or whenever the ambient lighting changes noticeably, typically every few weeks for regular outdoor use.