How to Calibrate Color on Mini Projectors: A Step‑by‑Step Guide for Accurate, Vibrant Image Quality
Introduction
One often discovers that a mini projector delivers a convenient solution for portable entertainment, yet the image may suffer from inaccurate colors. Accurate color reproduction is essential for home cinema, gaming, and professional presentations because it influences visual fidelity and audience engagement. This guide explains how to calibrate color on mini projectors using systematic procedures that combine software tools, measurement devices, and proper setup techniques. By following the steps, one will achieve vibrant, true‑to‑life images that match the creator's intent.
The calibration process addresses three core aspects: brightness and contrast balance, color temperature alignment, and gamma correction. Each aspect requires careful adjustment of both the projector settings and the surrounding environment to eliminate ambient light interference. The guide also recommends a reliable mounting solution to ensure the projector remains stable during measurement, which improves repeatability of results. Ultimately, one will gain confidence in producing consistent visual quality across different content types.
What You'll Need
- Mini projector with accessible menu controls
- Calibration software such as CalMAN or the free DisplayCAL suite
- Colorimeter or spectrophotometer (e.g., X‑Rite i1Display Pro)
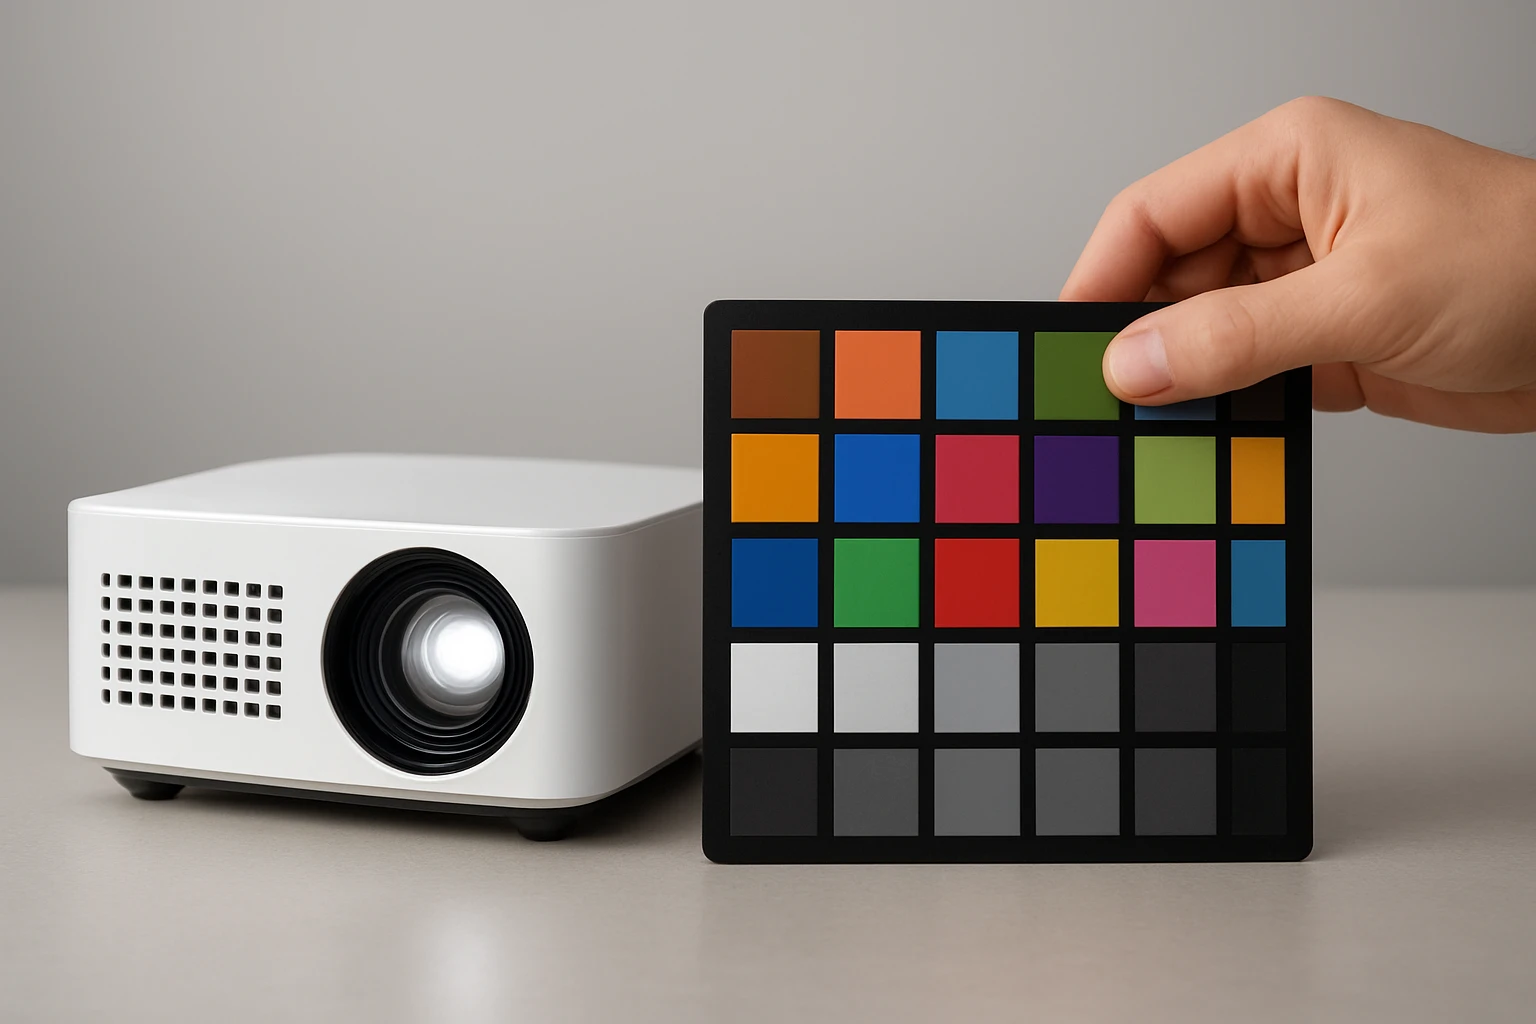
- Neutral gray reference card
- Darkened room or blackout curtains
- BESIGN Adjustable Projector Stand for stable placement
Step 1: Prepare the Viewing Environment
One should begin by eliminating ambient light that can skew color perception and measurement accuracy. Close curtains, turn off surrounding lamps, and ensure the wall or screen is uniformly white or gray. Position the projector on a stable surface; the BESIGN Adjustable Projector Stand provides a sturdy platform that supports up to 8 lb and offers height and angle adjustability, which is essential for aligning the projector with the screen without wobble.
The stand’s premium metal construction and rubberized holder prevent movement during calibration, thereby preserving the integrity of measured data. Set the stand height so that the projector lens aligns with the center of the screen, and lock the angle between 0° and 180° to match the intended projection geometry. Verify that the projector is level by using a small bubble level placed on the stand’s base.
Step 2: Configure Basic Projector Settings
Before launching calibration software, one must reset the projector to its factory defaults to eliminate previous customizations that could interfere with the process. Access the projector’s menu, navigate to the picture settings, and select the “Reset” or “Factory Default” option. After resetting, set the picture mode to “Standard” or “Custom” if available, and disable any dynamic contrast, noise reduction, or motion enhancement features.
These features often apply proprietary image processing that overrides manual adjustments, making accurate calibration impossible. Next, set the brightness to a mid‑range value (approximately 50 % of the maximum) and the contrast to a similar midpoint. This provides a neutral starting point for the software to generate precise adjustment curves.
Step 3: Install and Launch Calibration Software
One should download a reputable calibration application such as DisplayCAL, which is free and compatible with most colorimeters. Install the software following the on‑screen instructions, and connect the colorimeter via USB to the computer that will control the projector. Launch the program and select the projector as the target display device.
Within the software, choose a calibration preset that matches the intended use case—"Home Theater" for movies, "Gaming" for low‑latency response, or "Office" for accurate whites. The software will guide the user through a series of measurement points that cover the full color gamut. Ensure that the colorimeter’s sensor is positioned directly in front of the projected image, using the stand’s adjustable height to achieve perfect alignment.
Step 4: Perform Luminance and Gamma Measurements
During this phase, the software displays a series of grayscale patches on the screen while the colorimeter records luminance values. One must allow each patch to stabilize for a few seconds before the measurement is taken, as mini projectors may exhibit brief warm‑up periods. The software will calculate the gamma curve, which defines how mid‑tones are rendered, and suggest adjustments to the projector’s gamma settings.
If the projector’s internal menu permits manual gamma control, input the recommended values; otherwise, the software can generate a 3D LUT (Look‑Up Table) that overrides the native gamma. Apply the LUT through the projector’s external video input if supported, or use a video processor that accepts LUT files. Confirm that the measured gamma now approximates the target value of 2.2 for most viewing environments.
Step 5: Adjust Color Temperature and White Balance
The next step focuses on aligning the projector’s white point to the D65 standard (6500 K), which represents daylight illumination. The calibration software will display a series of colored bars while the colorimeter measures the chromaticity coordinates. Based on the results, the software will recommend adjustments to the red, green, and blue gain controls.
Using the projector’s menu, locate the color temperature or white balance settings and modify each channel according to the software’s guidance. The BESIGN Adjustable Projector Stand facilitates precise adjustments by allowing one to tilt the projector without disturbing the alignment, ensuring that the colorimeter continues to receive an accurate sample after each change. Re‑measure until the chromaticity coordinates fall within ±2 nm of the D65 target.
Step 6: Verify Color Gamut and Save Settings
Finally, one should evaluate the projector’s ability to reproduce saturated colors by running the software’s gamut test, which displays a series of highly saturated hue patches. The colorimeter will report the coverage of the Rec. 709 or DCI‑P3 color spaces, depending on the chosen preset. If the coverage is lower than expected, consider adjusting the projector’s color saturation or contrast settings in small increments.
Once satisfied with the measurements, save the calibration profile within the software and export any generated LUT files. Load the LUT into the projector if supported, or store the profile for future reference. Document the final settings, including brightness, contrast, gamma, and white balance values, to facilitate reproducibility.
Tips & Pro Tips
- Always allow the projector to warm up for at least 15 minutes before calibration; this stabilizes lamp output and improves measurement consistency.
- Use a high‑quality gray reference card to verify that the projected gray appears neutral; any tint indicates residual white balance errors.
- When calibrating in a room with unavoidable ambient light, measure the room’s luminance and input that value into the software to compensate for external illumination.
- For repeated calibrations, keep a log of settings and environmental conditions; this enables quick adjustments if the projector is moved to a different location.
Troubleshooting
If the colorimeter reports inconsistent readings, check that the sensor is clean and free of fingerprints, as contamination can distort measurements. Additionally, verify that the projector’s lens is free of dust and that the projected image fills the entire measurement area without clipping.
Should the calibration software indicate that the projector cannot achieve the desired gamma, consider using an external video processor that supports 3D LUTs, as many mini projectors lack internal gamma control. In cases where the stand’s height limits alignment, adjust the screen height or use a secondary support to bring the projection plane into the sensor’s optimal range.
Conclusion
One now possesses a comprehensive methodology for calibrating color on mini projectors, encompassing environment preparation, hardware setup, software execution, and final verification. By following each step and utilizing tools such as the BESIGN Adjustable Projector Stand, one can achieve accurate, vibrant image quality that enhances both entertainment and professional presentations.
Consistent calibration not only improves visual fidelity but also extends the lifespan of the projector by operating it within optimal parameters. One is encouraged to repeat the calibration process periodically, especially after lamp replacement or when changing the viewing environment.
Products Mentioned in This Guide
Frequently Asked Questions
Why is color calibration important for mini projectors?
It ensures accurate, vibrant colors that enhance home cinema, gaming, and professional presentations.
What three core aspects should be adjusted during calibration?
Brightness/contrast balance, color temperature alignment, and gamma correction.
Which tools are recommended for precise color calibration?
A calibration software (e.g., CalMAN or DisplayCAL) paired with a colorimeter or spectrophotometer.
How does ambient light affect projector calibration?
Ambient light can skew perceived colors, so calibrate in a darkened room or control lighting.
Why is a stable mounting solution crucial during calibration?
It prevents movement, ensuring consistent measurements and repeatable results.