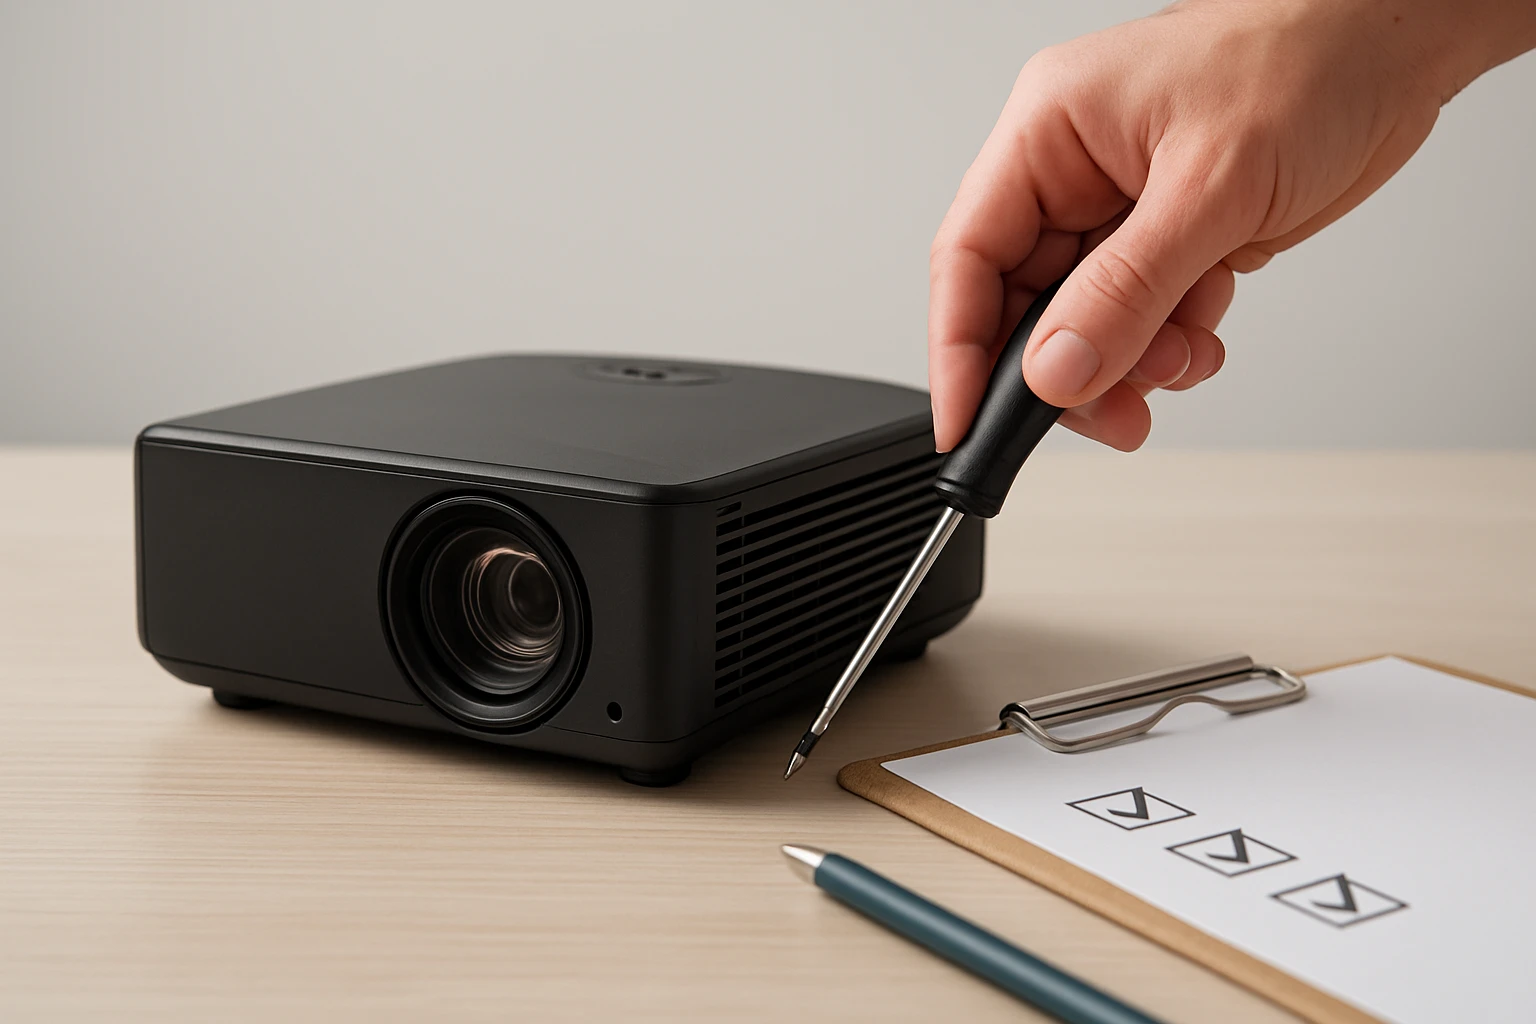
Mini Projector Maintenance Checklist: Ultimate Guide to Care, Cleaning & Troubleshooting
Introduction
Mini projectors have become essential tools for educators, business professionals, and home entertainment enthusiasts. This guide explains the complete maintenance routine that ensures reliable image quality and prolonged device lifespan. Readers will learn how to clean optical components, manage heat dissipation, inspect electrical connections, and resolve common performance issues. The article also recommends three highly rated accessories that enhance each step of the maintenance process.
Background and Context
Mini projectors rely on a compact light engine, precision lenses, and delicate electronic circuitry to produce bright images from a small footprint. Because the devices operate in close proximity to dust, fingerprints, and heat, regular upkeep is critical to prevent image degradation and hardware failure. Understanding the function of each component allows the user to apply the correct cleaning technique without causing damage. The following sections break down the maintenance tasks into logical categories that align with the internal architecture of a typical mini projector.
Cleaning the Optics
The lens and any interchangeable filters are the most visible elements of a projector, yet they are also the most vulnerable to smudges and microscopic particles. A lint‑free microfiber swab is the safest tool for removing debris without scratching the glass surface. The BabyPearl Foam Cleaning Swab Kit provides 33 foam‑tipped swabs in nine different head shapes, allowing the user to reach both flat and curved surfaces. Each swab is non‑conductive, ensuring that static discharge does not affect sensitive optical coatings.
- Price: $6.99
- Rating: 4.4 out of 5 stars (99 reviews)
- Key features: multiple head shapes, lengths ranging from 2.55 to 6.37 inches, lint‑free construction
When cleaning, apply a few drops of lens‑safe cleaning fluid to the swab tip, then gently wipe the surface using a circular motion. Avoid applying pressure that could deform the lens curvature. After cleaning, allow the lens to air dry for a few seconds before re‑installing the projector to prevent fluid residue from interfering with the light path.
Maintaining the Light Engine
The light source, whether LED or laser, produces the brightness that defines the projector’s performance. Dust accumulation on the light engine reduces luminous output and can cause overheating. A controlled airflow device can dislodge particles without the need for direct contact.
The ZOAIVR Cordless Air Duster delivers up to 130,000 RPM airflow, equivalent to 52 meters per second, which is sufficient to clear dust from the internal fan and light chamber. Its four‑gear speed selector enables gentle blowing for delicate components and a high‑speed storm mode for stubborn buildup.
- Price: $37.99
- Rating: 4.5 out of 5 stars (929 reviews)
- Key features: 8000 mAh rechargeable battery, 2.5‑hour fast charge, lightweight 0.62 lb design, six interchangeable nozzles
Before using the air duster, power off the projector and remove the cover to expose the fan and light engine. Hold the nozzle at a safe distance of approximately two centimeters to avoid direct impact on the delicate LEDs. Perform short bursts of air, rotating the device to reach all angles of the chamber.
Managing the Cooling System
Effective cooling is essential for maintaining projector performance, as excess heat can shorten the lifespan of the light source and internal circuitry. The cooling system typically consists of a fan, heat sink, and ventilation grilles. Regular inspection of the fan blades for dust buildup and verification of unobstructed airflow pathways prevents thermal throttling.
For situations where the fan blades are difficult to reach, the JJC Silicone Air Blower offers a soft‑tip silicone bulb that can blow air into narrow vents without scratching plastic components. Its ergonomic grip ensures steady handling during extended cleaning sessions.
- Price: $7.99
- Rating: 4.6 out of 5 stars (2,716 reviews)
- Key features: multipurpose use, soft silicone tip, anti‑scratch design, includes microfiber cleaning cloth
Insert the blower tip into each ventilation opening and apply short bursts of air while rotating the projector to dislodge trapped particles. After cleaning, re‑assemble the cover and verify that the fan spins freely without obstruction.
Electrical Connections and Ports
Mini projectors frequently connect to external devices via HDMI, USB‑C, and audio jacks. Corrosion or debris on these ports can cause intermittent signal loss or complete failure to recognize connected equipment. Use a dry, lint‑free swab from the BabyPearl kit to gently clean the interior of each port.
When inspecting connectors, ensure that the power cable is free of frayed insulation and that the battery contacts (if applicable) are clean and secure. A loose power connection may manifest as sudden shutdowns or failure to power on. Re‑seat all cables firmly after cleaning to guarantee reliable data transmission.
Comparison and Selection Guide
The three featured accessories each address a specific maintenance need. Selecting the appropriate tool depends on the user’s primary cleaning focus and budget constraints.
| Product | Primary Use | Key Advantage | Price |
|---|---|---|---|
| BabyPearl Foam Cleaning Swab Kit | Precision lens and port cleaning | Multiple head shapes for hard‑to‑reach areas | $6.99 |
| ZOAIVR Cordless Air Duster | Dust removal from internal fans and light engine | High‑speed airflow with adjustable gears | $37.99 |
| JJC Silicone Air Blower | Vent and grille cleaning without scratching | Soft silicone tip and included microfiber cloth | $7.99 |
For users who require comprehensive cleaning of both optics and internal components, a combination of the BabyPearl Swab Kit and the ZOAIVR Air Duster provides the most thorough solution. Budget‑conscious users may find the JJC Silicone Air Blower sufficient for routine ventilation maintenance.
Best Practices & Tips
- Perform a full maintenance check at least once every three months, or more frequently in dusty environments.
- Always power off the projector and disconnect all cables before beginning any cleaning procedure.
- Use only lens‑safe cleaning fluids; avoid household cleaners that contain ammonia or alcohol.
- Store accessories in a clean, dry container to prevent contamination between cleaning sessions.
- Document any recurring issues, such as fan noise or image dimming, to assist with troubleshooting or warranty claims.
Following these practices reduces the likelihood of unexpected downtime and preserves the visual fidelity of projected content. Regular maintenance also sustains the projector’s warranty coverage by demonstrating proper care.
Frequently Asked Questions
1. How often should the lens be cleaned?
The lens should be cleaned whenever fingerprints or visible smudges appear, but a deep cleaning using a lint‑free swab should be performed no more than once per month to avoid unnecessary wear.
2. Can I use compressed canned air instead of an electric duster?
Canned air provides a one‑time burst of airflow, but it often contains propellants that can leave residue on delicate components. The rechargeable ZOAIVR Air Duster offers a cleaner, reusable alternative with adjustable speed settings.
3. What temperature range is safe for operating a mini projector?
Most mini projectors operate safely between 0 °C and 40 °C (32 °F to 104 °F). Operating outside this range can cause thermal stress and reduce component lifespan.
4. How can I tell if the fan motor is failing?
Symptoms of a failing fan include audible grinding noises, intermittent shutdowns due to overheating, and visible wobble of the fan blades during operation.
5. Is it necessary to replace the light source?
LED and laser light sources are rated for tens of thousands of hours and typically do not require replacement under normal use. Diminished brightness after extensive use may indicate a need for professional servicing.
6. Will cleaning the projector void the warranty?
Cleaning with manufacturer‑approved tools and following the recommended procedures does not void the warranty. Using abrasive materials or unauthorized disassembly may invalidate coverage.
Conclusion
This guide has presented a systematic maintenance checklist that covers optical cleaning, light engine care, cooling system management, and electrical connection inspection. By integrating the BabyPearl Foam Cleaning Swab Kit, ZOAIVR Cordless Air Duster, and JJC Silicone Air Blower into the routine, users can achieve professional‑grade results without specialized training. Consistent adherence to the best‑practice recommendations will extend the functional life of a mini projector and ensure consistently sharp, bright images.
Products Featured in This Guide
BabyPearl Foam Cleaning Swab Kit
Price: $6.99
Rating: 4.4 out of 5 stars (99 reviews)
Featured because it provides lint‑free, multi‑shaped swabs that safely clean lenses, filters, and connector ports without leaving residue.
ZOAIVR Cordless Air Duster
Price: $37.99
Rating: 4.5 out of 5 stars (929 reviews)
Featured because its high‑speed, rechargeable airflow removes dust from internal fans and light engines without the waste of disposable cans.
JJC Silicone Air Blower
Price: $7.99
Rating: 4.6 out of 5 stars (2,716 reviews)
Featured because its soft silicone tip safely clears ventilation grilles and heat‑sink fins without scratching delicate surfaces.
Frequently Asked Questions
How often should I clean the lens of my mini projector?
Clean the lens every 1‑2 months or whenever dust or smudges reduce image clarity.
What is the safest method to remove dust from the projector’s air filter?
Gently brush or use compressed air to blow dust away, then wipe the filter with a lint‑free cloth.
How can I prevent overheating during prolonged use?
Keep vents unobstructed, use a cooling fan accessory, and allow the projector to cool for a few minutes between sessions.
What signs indicate that the lamp or LED light source needs replacement?
Noticeable dimming, color shift, or frequent shutdowns due to overheating suggest the light source is failing.
Are there any accessories that help with regular maintenance?
Yes, a lens cleaning kit, an external cooling pad, and a dust‑proof storage case are highly recommended for easy upkeep.