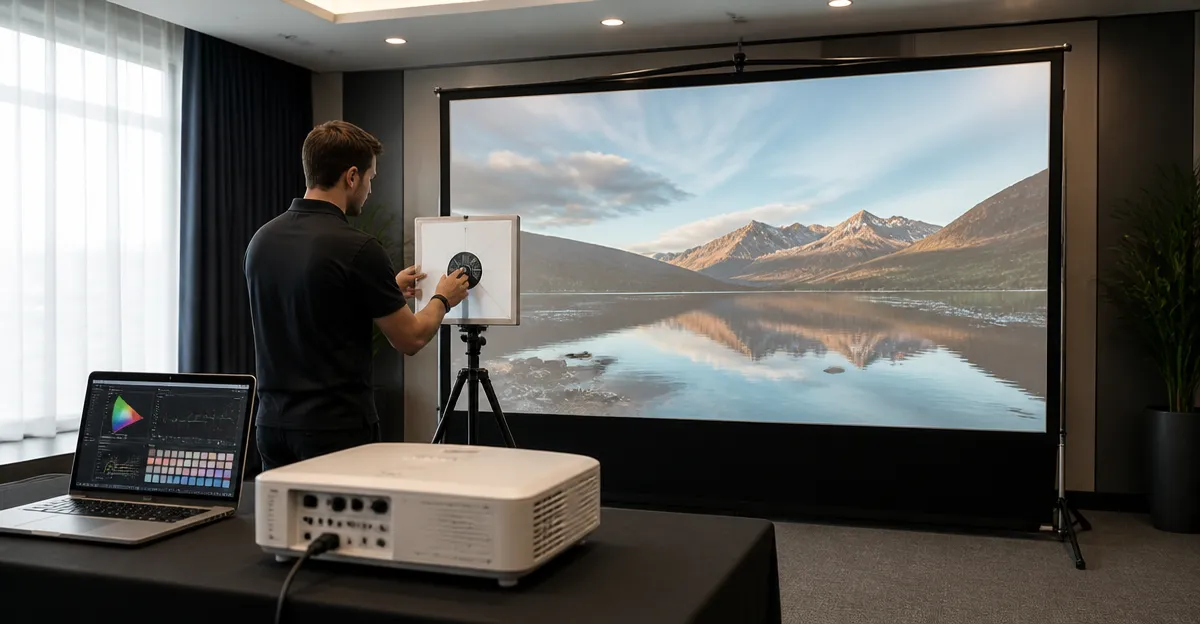
How to Color‑Calibrate a Projector and Portable Screen On‑Site: Step‑by‑Step Guide for Accurate, Consistent Results
Introduction
One will discover how to achieve precise color reproduction when projecting onto a portable or fixed screen. Accurate calibration ensures that the visual output matches the creator’s intent and that viewers experience consistent imagery across different lighting conditions. The process combines careful hardware placement, ambient light assessment, and the use of calibrated software tools. Mastering these steps provides long‑term reliability for presentations, home cinema, and professional installations.
What You'll Need
- Projector with manual color controls or support for calibration software.
- Portable or fixed projection screen appropriate for the venue.
- Tripod or mounting solution for stable projector placement.
- Colorimeter or spectrophotometer (e.g., X‑Rite i1Display Pro).
- Calibration software such as CalMAN, DisplayCAL, or proprietary vendor tools.
- Measuring tape, level, and low‑gloss cloth for cleaning the screen surface.
- Optional: DECOSIS Adjustable Projector Tripod Stand for secure mounting.
- Optional: Mdbebbron 120in 16:9 Foldable Projector Screen for portable setups.
- Optional: Silver Ticket STR 120in 16:9 Framed Screen for permanent installations.
Step 1: Prepare the Environment
One should begin by evaluating the ambient lighting in the location where the projection will occur. Measure the lux level using a handheld light meter; ideal values are below 30 lux for dark‑room cinema and up to 150 lux for bright conference rooms. Reduce direct sunlight by closing blinds or using blackout curtains, and turn off unnecessary overhead lights. A controlled lighting environment minimizes color shift caused by external illumination.
Step 2: Set Up the Projection Hardware
Mount the projector on a stable platform to prevent movement during calibration. The DECOSIS Adjustable Projector Tripod Stand offers a safety latch, thickened aluminum construction, and a height range of 23 to 46 inches, allowing precise alignment with the screen surface. Its 22 lb load capacity comfortably supports most short‑throw projectors, and the 180° tilt feature enables optimal keystone correction without digital processing. At a price of $35.99 and a rating of 4.4 / 5.0 from 6,455 reviews, it provides a cost‑effective solution for on‑site setups.
After assembling the tripod, tighten all locks and verify levelness with a bubble level. Position the projector so that the lens is centered horizontally and vertically relative to the screen, maintaining the manufacturer’s recommended throw distance for the desired image size.
Step 3: Install and Position the Screen
Select a screen that matches the projector’s native aspect ratio and the intended viewing area. For temporary locations, the Mdbebbron 120in 16:9 Foldable Projector Screen is lightweight, folds into a compact size, and includes a 120‑inch diagonal viewing area (104" × 58"). Its anti‑crease polyester fabric delivers sharp, bright images while resisting wrinkles after transport. Priced at $23.99 with a 4.5 / 5.0 rating from 35,554 reviewers, it is ideal for mobile presentations.
Unfold the screen, secure it to the wall or ceiling using the supplied hooks or double‑sided tape, and stretch the fabric evenly to avoid sagging. For permanent installations, the Silver Ticket STR 120in 16:9 Framed Screen provides a rigid aluminum frame and a 1.1 gain white surface, delivering a wide 160° viewing angle and consistent color across the entire panel. Although priced at $279.98 and rated 4.8 / 5.0 by 4,998 users, its heavy‑duty construction ensures long‑term durability and is especially suitable for high‑end home theaters.
Step 4: Perform Basic Projector Settings Reset
Access the projector’s on‑screen menu and reset all picture settings to factory defaults. This step eliminates any prior color adjustments that could interfere with the calibration process. Next, disable any image enhancement features such as dynamic contrast, noise reduction, or motion smoothing, as these algorithms alter the raw signal and obscure true color values.
Set the projector to its native resolution and select the appropriate color space (typically Rec. 709 for HD content or Rec. 2020 for HDR). Record these baseline settings for reference before proceeding to software‑driven adjustments.
Step 5: Use Calibration Software and Test Patterns
Connect the colorimeter to a laptop running calibration software. Place the sensor at the primary viewing position, typically the center of the audience area, and press the software’s measurement button. The software will display a series of test patterns, including grayscale ramps, color bars, and uniform fields, while the sensor records luminance and chromaticity data.
For the most accurate results, use the Silver Ticket STR 120in 16:9 Framed Screen as a reference surface when calibrating high‑end projectors, because its 1.1 gain surface reflects light uniformly and reduces hotspot formation. The software will generate a correction profile that adjusts the projector’s red, green, and blue output to match the target color space.
Step 6: Fine‑Tune Color Gamut and Gamma
Apply the generated correction profile to the projector, either through internal LUT (look‑up table) support or via an external video processor. Verify that the gamma curve matches the industry standard (2.2 for most video content). Adjust the gamma setting if the software indicates deviation, ensuring that shadows and highlights retain detail without clipping.
Examine the saturation levels using the software’s color bar test. If any primary color appears overly vivid or muted, manually tweak the corresponding hue and saturation sliders until the measured values fall within the acceptable delta‑E range (typically less than 2 for professional work).
Step 7: Verify Consistency Across Content Types
Play a variety of source material, including a calibrated test video, a natural‑scene clip, and a high‑contrast movie excerpt. Observe the image on the screen for uniform color balance, accurate skin tones, and consistent brightness. Use the colorimeter to re‑measure a few key points on the screen to confirm that the calibration holds across the entire surface.
If discrepancies appear, repeat steps 4‑6, focusing on the specific area where the deviation occurs. Document the final settings in a logbook or digital file for future reference, especially when the equipment is moved to a different venue.
Tips & Pro Tips
- Allow the projector to warm up for at least five minutes before taking measurements; lamp output stabilizes after this period.
- Use a matte black cloth to gently clean the screen surface before calibration; dust can affect luminance readings.
- When calibrating multiple projectors to the same screen, create a master correction profile and apply it to each unit for uniformity.
- Consider using a portable power conditioner to protect the projector from voltage spikes that could alter lamp performance.
- For HDR workflows, calibrate both SDR and HDR modes separately, as they require different gamma and peak brightness targets.
Troubleshooting
Problem: Colorimeter reports inconsistent readings across the screen.
Solution: Verify that the screen is fully tensioned and free of wrinkles; re‑mount the screen if necessary. Ensure the sensor is positioned perpendicular to the screen surface.
Problem: Calibration software fails to communicate with the projector.
Solution: Check that the projector firmware supports external LUTs. Update the firmware if a newer version is available, and confirm that the correct video input (HDMI, DisplayPort) is selected.
Conclusion
One has now learned a systematic approach to on‑site color calibration that combines environmental control, stable hardware mounting, precise screen selection, and professional software tools. By following each step, the projected image will retain accurate colors, consistent brightness, and reliable performance across diverse venues. Continued documentation of settings and periodic re‑calibration will preserve visual fidelity for years to come.
Products Mentioned in This Guide
Frequently Asked Questions
What equipment is essential for on‑site projector and screen color calibration?
You need a projector with manual or software color controls, a portable or fixed screen, a stable mount, a colorimeter or spectrophotometer, calibration software, and basic tools like a tape measure and cleaning cloth.
How do I assess ambient lighting before calibrating?
Measure the room’s light level with a lux meter or the colorimeter’s ambient mode, then adjust curtains or lighting to achieve consistent, low‑ambient conditions.
Can I calibrate using only the projector’s built‑in controls?
Basic adjustments are possible with built‑in controls, but for accurate, repeatable results you should use a calibrated colorimeter and dedicated software.
How often should I recalibrate a projector and screen combo?
Recalibrate every 6‑12 months, or after moving the setup, changing lamps, or noticing color shifts in content.
Is the calibration process different for portable versus fixed screens?
The steps are the same, but portable screens may require extra cleaning and verification of screen gain and uniformity before measurement.