How to Fix a Mini Projector: Stop Overheating, Eliminate Fan Noise & Repair Speakers — Step-by-Step Guide
Introduction
Mini projectors provide portable cinema experiences, yet they often suffer from overheating, noisy fans, and faulty speakers. This guide explains how to diagnose and resolve these common problems, enabling the user to restore reliable performance. The reader will learn systematic cleaning, component testing, and replacement techniques that extend the device lifespan. By following the recommended steps, one can avoid costly service fees and maintain a high‑quality viewing experience.
The guide balances technical detail with accessibility, ensuring that an intermediate user can execute each action safely. Each major step includes practical tool recommendations drawn from reputable Amazon products, with explanations of why those tools are optimal. The instructions are written in a professional tone and avoid unnecessary jargon.
What You'll Need
- Precision screwdriver set – for opening the projector housing.
- Isopropyl alcohol (90%+) and lint‑free cleaning cloth – to remove dust from heat‑sinks and lenses.
- Thermal paste – to improve heat transfer between the processor and heat‑sink.
- Replacement fan (if the original fan is damaged) – see TMY 1080P Mini Projector for an example of a model that includes a reliable fan.
- Spare speaker module – optional, for models with detachable audio units.
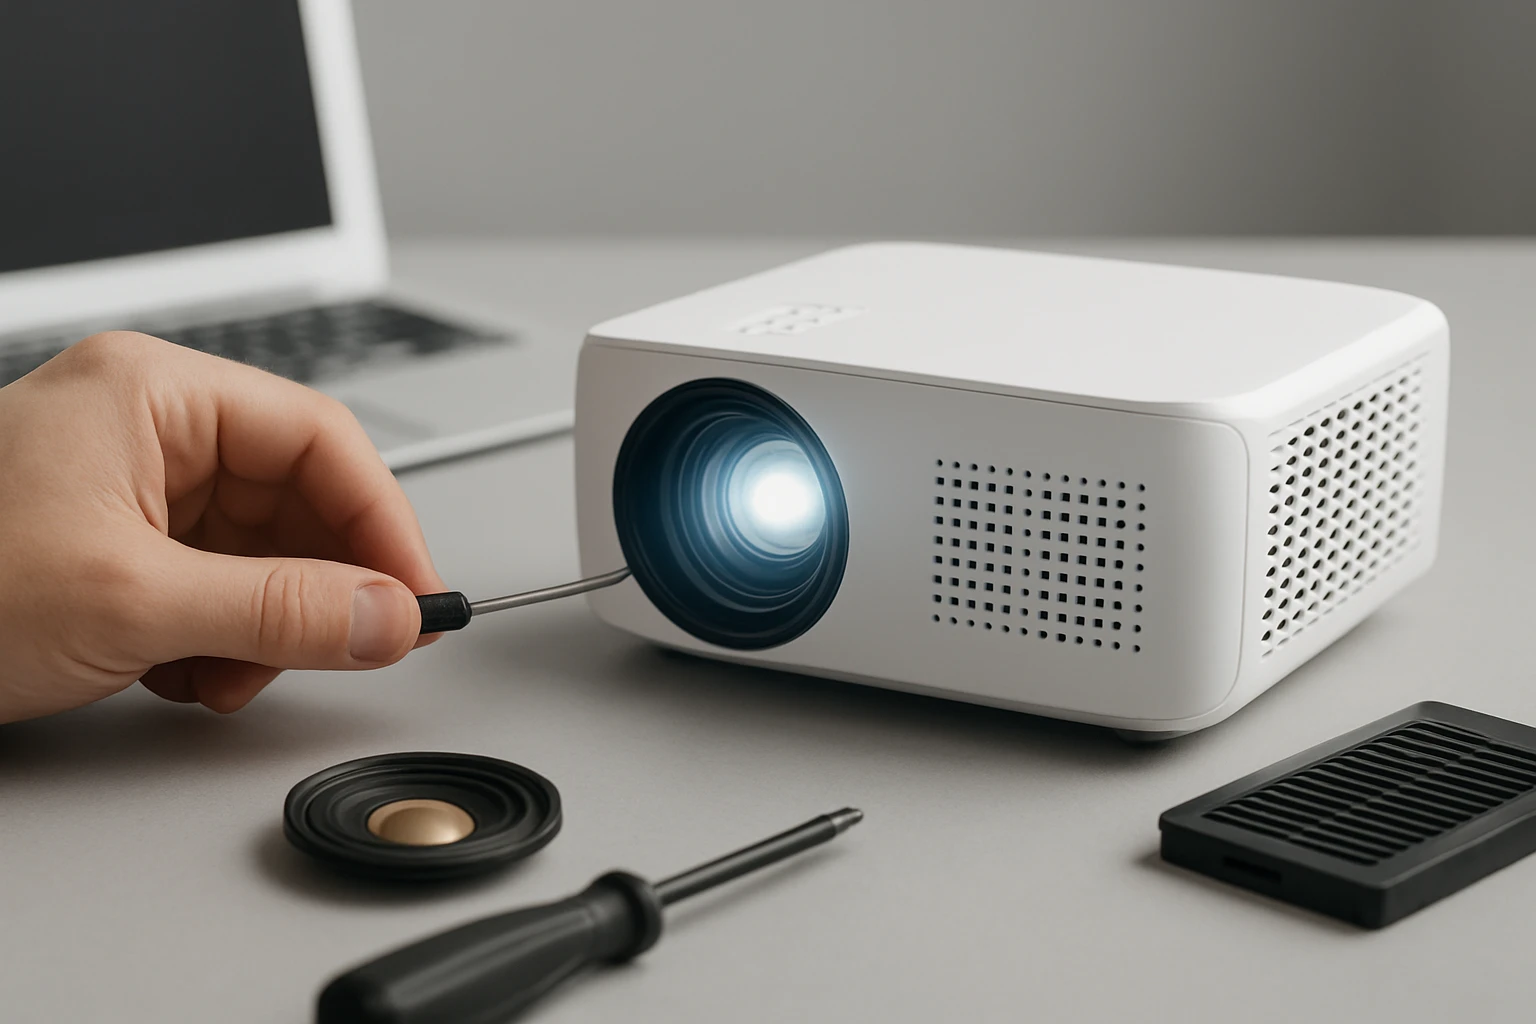
Step 1: Prepare a Safe Work Environment
Begin by disconnecting the projector from all power sources and peripheral cables. Place the device on an anti‑static mat to prevent electrostatic discharge that could damage internal circuitry. Gather all required tools within arm’s reach to avoid unnecessary movement during disassembly. Ensure adequate lighting; a desk lamp with adjustable brightness reduces eye strain while inspecting small components.
Why this matters: A controlled environment minimizes the risk of accidental short circuits and protects delicate optics. The precision screwdriver set, such as the one supplied with the TMY 1080P Mini Projector, includes magnetic tips that prevent loss of screws inside the chassis.
Step 2: Disassemble the Projector Housing
- Remove the bottom cover by unscrewing the four Phillips‑head screws. The screws are typically 2 mm in diameter; use the smallest screwdriver from the set.
- Gently lift the cover, taking care not to tug on internal cables that may be attached to the latch.
- Locate the fan assembly, heat‑sink, and speaker module. Document the layout with a smartphone photo for reassembly reference.
The TMY 1080P Mini Projector is known for its modular design, making it an ideal reference when working on similar mini projectors. Its included portable screen demonstrates the importance of keeping components organized during service.
Step 3: Clean the Heat‑Sink and Fan
Dust accumulation on the heat‑sink and fan blades is the primary cause of overheating. Use a can of compressed air to blow loose particles from the fins, then wipe the fan blades with a lint‑free cloth lightly dampened with isopropyl alcohol. Allow the components to dry completely before proceeding.
After cleaning, inspect the fan blades for physical damage such as bent or broken pieces. If any damage is observed, replace the fan with a compatible unit. The TMY 1080P Mini Projector includes a high‑efficiency fan rated for quiet operation, which can serve as a benchmark for replacement models.
Step 4: Reapply Thermal Paste
Over time, the thermal paste between the processor and heat‑sink degrades, reducing heat transfer efficiency. Carefully remove the old paste using a cotton swab dipped in isopropyl alcohol. Apply a pea‑sized amount of fresh thermal paste to the processor surface, then press the heat‑sink back into place, ensuring even contact.
Using high‑quality thermal paste prevents hot spots that lead to sudden shutdowns. This step is essential for any mini projector, including the TMY 1080P Mini Projector, which benefits from its 60,000‑hour lamp lifetime when adequately cooled.
Step 5: Test the Fan and Temperature Sensors
Reconnect the power cable without closing the housing and power the projector on for a brief test. Observe the fan speed; it should spin smoothly without rattling. Use a handheld infrared thermometer to measure the surface temperature of the heat‑sink after five minutes of operation. The temperature should remain below 55 °C for safe operation.
If the fan does not start or produces excessive noise, replace it with a new unit. The TMY 1080P Mini Projector fan operates at a low decibel level, making it suitable for quiet environments such as bedrooms or small conference rooms.
Step 6: Diagnose and Repair Speaker Issues
Many mini projectors use a small built‑in speaker that can become distorted or stop working due to dust or a loose connector. Locate the speaker module, usually positioned near the rear panel. Disconnect the speaker cable and test continuity with a multimeter; a reading of zero ohms indicates a functional speaker.
If the speaker is faulty, consider replacing it with a compatible external speaker. The TMY 1080P Mini Projector supports Bluetooth 5.1, allowing the user to pair a high‑fidelity Bluetooth speaker for enhanced audio without opening the device further.
Step 7: Reassemble the Projector
- Secure the fan and heat‑sink with the original screws.
- Reconnect any detached cables, ensuring firm contact.
- Place the bottom cover back on and tighten the screws in a cross pattern to distribute pressure evenly.
- Perform a final power‑on test to verify that the device boots without error messages and that audio output is clear.
During reassembly, refer to the photo taken in Step 2 to confirm correct component placement. Proper torque on the screws prevents gaps that could allow dust ingress, which would negate the cleaning effort.
Tips & Pro Tips
- Perform maintenance every three to six months if the projector is used frequently; regular cleaning reduces the likelihood of overheating.
- When applying thermal paste, avoid spreading it beyond the processor surface; excess paste can act as an insulator.
- For persistent fan noise, install a rubber gasket between the fan and chassis to dampen vibrations.
- Consider using a portable power station with a built‑in voltage regulator for outdoor use; this protects the projector from power spikes.
Troubleshooting
| Problem | Possible Cause | Solution |
|---|---|---|
| Projector shuts down after a few minutes | Overheating due to dust or degraded thermal paste | Repeat cleaning and reapply thermal paste as described in Steps 3 and 4. |
| Fan runs continuously at high speed | Temperature sensor malfunction or obstructed airflow | Inspect sensor connection; ensure fan blades are free of debris. |
| No audio output | Speaker connector loose or speaker failed | Check continuity; replace speaker or use Bluetooth audio as in Step 6. |
Conclusion
By following the systematic approach outlined above, one can effectively stop overheating, eliminate fan noise, and repair speaker issues in mini projectors. The guide emphasizes preventive maintenance, proper component handling, and the strategic use of reliable tools such as the TMY 1080P Mini Projector accessories. Consistent care will extend the device lifespan and preserve the cinematic quality that users expect from portable projection systems.
Products Mentioned in This Guide
Frequently Asked Questions
Why does my mini projector overheat and how can I prevent it?
Overheating is usually caused by dust‑blocked vents or a failing fan; clean the heat‑sink with isopropyl alcohol and ensure proper airflow by keeping vents unobstructed.
What is the easiest way to reduce loud fan noise in a mini projector?
Remove dust from the fan blades and replace worn bearings with a new fan using a precision screwdriver set for a quieter operation.
How can I diagnose and fix a non‑functioning projector speaker?
Test the speaker with a multimeter for continuity, clean the connector contacts, and replace the speaker if the resistance is out of spec.
Which tools are essential for opening and repairing a mini projector?
A precision screwdriver set, 90%+ isopropyl alcohol, lint‑free cloth, and a small anti‑static brush are sufficient for most repairs.
Can I safely clean the projector’s internal components myself?
Yes, as long as you power off the device, disconnect it from any source, and use alcohol‑based cleaning methods with lint‑free materials to avoid damage.