How to Set Up a Driveway Drive-In Movie Night: Step-by-Step DIY Guide for Projector, Sound, and Snacks
Introduction
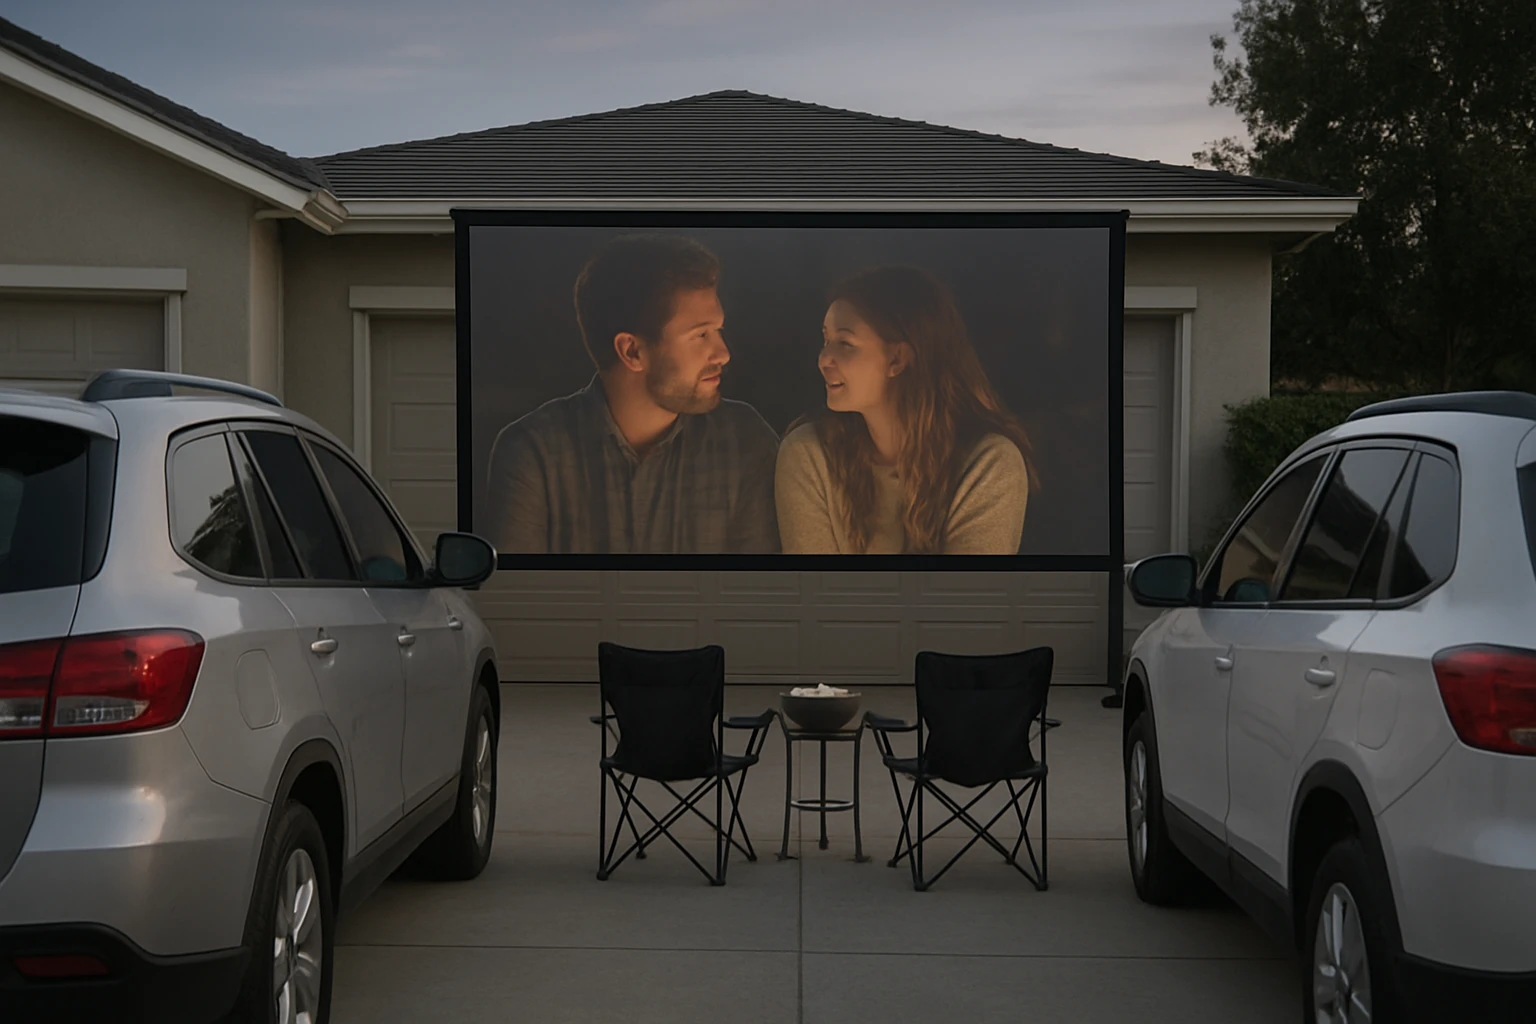
Creating a memorable drive‑in movie night in one’s own driveway offers families and friends a unique blend of nostalgia and convenience. This guide explains every essential phase, from selecting the optimal projection equipment to arranging sound, lighting, and snack stations. By following the steps, readers will be able to host a cinematic experience that rivals commercial drive‑ins while remaining budget‑friendly and adaptable to any weather condition.
What You'll Need
- A portable high‑definition projector – TMY Portable Mini Projector
- Bluetooth speaker(s) for audio – JBL Flip 5 (Squad) or JBL Flip 5 (Black)
- Extension cords and power strips
- Portable lighting (e.g., LED string lights)
- Seating options – lawn chairs, blankets, or car seats
- Snack station supplies – popcorn maker, cooler, disposable plates
- Optional: white sheet or blackout curtains for ambient light control
Step 1: Choose and Prepare the Location
Begin by selecting a flat section of the driveway that offers an unobstructed view of the sky. Clear debris, sweep away leaves, and ensure the surface is dry. If the driveway is sloped, consider placing a short wooden platform to level the projector and speaker placement. The chosen spot should allow the projected image to land on the built‑in 80‑inch screen that comes with the TMY Portable Mini Projector, eliminating the need for a separate screen purchase.
Step 2: Set Up the Projection Screen
The TMY projector includes an 80‑inch foldable screen that unfolds to a tension‑tight surface, delivering sharper contrast than a blank wall. Position the screen at a distance of 2.5‑3 meters from the projector for optimal image size (approximately 100‑120 inches). Secure the screen’s frame to the ground using the provided stakes or weighted bags to prevent wind movement. Because the screen is portable, it can be stored in a compact bag after the event, making future drive‑ins effortless.
Step 3: Position and Configure the Projector
Place the TMY Portable Mini Projector on a stable table or tripod at the recommended throw distance (1.5‑6 meters). Connect the HDMI cable from a streaming device (Fire TV Stick, Roku, or gaming console) directly into the projector’s HDMI port. The projector supports full 1080p HD resolution, ensuring crisp visuals even on a large screen. Adjust the focus knobs until the image is sharp; the device’s built‑in LED light source provides up to 10,000‑hour lamp life, reducing maintenance concerns. For outdoor use, ensure the projector is shaded from direct sunlight to preserve image brightness.
Step 4: Arrange Audio Using Bluetooth Speakers
High‑quality audio is essential for an immersive experience. The JBL Flip 5 (Squad) offers powerful JBL Original Pro Sound, a 12‑hour battery, and IPX7 waterproof protection, making it ideal for outdoor environments. Pair the speaker with the projector via Bluetooth; the projector’s two‑way Bluetooth capability allows it to act as a Bluetooth audio source. For stereo sound, place two Flip 5 units on opposite sides of the screen and enable JBL PartyBoost, which synchronizes playback for a wider soundstage. The black variant provides the same performance with a sleek aesthetic that may better match a night‑time setting.
Step 5: Power Management and Connectivity
Both the projector and speakers require reliable power sources. Use outdoor‑rated extension cords to bring electricity from the house to the driveway, and protect all connections with waterproof covers. If a power outlet is unavailable, a portable generator rated at 500 W can supply sufficient power for the projector (approximately 40 W) and two speakers (each under 10 W). Keep the generator at a safe distance to minimize noise interference with the movie audio.
Step 6: Create Comfortable Seating and Ambient Lighting
Arrange lawn chairs, bean bags, or car seats facing the screen. Provide blankets for cooler evenings. Install low‑intensity LED string lights along the perimeter to guide guests without washing out the projected image. Position lights behind the seating area rather than in front of the screen to maintain darkness where it matters most.
Step 7: Set Up a Snack Station
A successful drive‑in includes classic movie snacks. Allocate a table near the entrance for popcorn, candy, and beverages. Use a small electric popcorn maker powered by the same extension cord network. Keep drinks in a cooler with ice packs to maintain temperature. Offer disposable plates and napkins for easy cleanup, and consider a trash bin with a lid to keep the area tidy.
Step 8: Perform a Test Run and Host the Event
Before guests arrive, run a short test clip to verify image alignment, focus, and audio synchronization. Adjust the projector’s keystone settings if the image appears trapezoidal. Ensure the Bluetooth speakers maintain a stable connection; if interference occurs, relocate the speakers or use a wired auxiliary cable as a backup. Once everything functions smoothly, dim the ambient lights, hand out seating assignments, and start the feature film.
Tips & Pro Tips
- Schedule the movie on a clear night; check the weather forecast and have a tarp ready for unexpected rain.
- Use a wireless router or mobile hotspot to stream movies, ensuring a stable internet connection for streaming sticks.
- Place a small fan near the projector to keep the LED light source cool during long screenings.
- If the driveway is narrow, consider a “double‑screen” layout using two projectors to widen the viewing area.
- Provide earplugs for children who may be sensitive to louder bass frequencies from the JBL speakers.
Troubleshooting
- No picture: Verify the HDMI cable is fully seated and the correct input source is selected on the projector.
- Faint audio: Increase the speaker volume, check Bluetooth pairing distance, or connect the speaker via the projector’s auxiliary output.
- Image distortion: Use the projector’s keystone correction or physically adjust the projector angle to achieve a rectangular image.
- Screen flickering: Ensure the screen is taut and not moving; wind can cause minor vibrations that affect image stability.
Conclusion
By following this comprehensive guide, one can transform an ordinary driveway into a vibrant drive‑in cinema. The combination of the TMY Portable Mini Projector, JBL Flip 5 speakers, and thoughtful planning delivers high‑definition visuals, powerful sound, and an enjoyable atmosphere without the expense of renting commercial equipment. Invite friends, roll out the blankets, and enjoy a night under the stars with the magic of movies.
Products Mentioned in This Guide
Frequently Asked Questions
What type of projector works best for a driveway drive‑in movie night?
A portable high‑definition projector with at least 1080p resolution and 2000‑3000 lumens is ideal for clear images even in low ambient light.
How can I get good sound without disturbing neighbors?
Use Bluetooth speakers placed near the viewing area and set the volume to a comfortable level; consider directional speakers to focus sound toward the cars.
Do I need special lighting for a backyard drive‑in?
Yes, add soft LED string lights or battery‑operated lanterns around the perimeter to guide guests without washing out the screen.
What are budget‑friendly seating options?
Lawn chairs, blankets, and inflatable cushions provide comfortable, low‑cost seating that can be easily stored after the event.
How can I protect my equipment from weather?
Set up a waterproof canopy or tarp over the projector and speakers, and keep all electronics on raised surfaces to avoid moisture damage.