How to Prevent Projector Overheating During Marathon Screenings: Essential Thermal Management Tips for Long Movie Nights
Introduction
Projectors deliver immersive visuals, but extended operation can cause temperature spikes that reduce lifespan and degrade image quality. This guide explains how to maintain optimal thermal conditions throughout a multi‑hour screening, ensuring reliable performance and protecting your investment. Readers will learn to assess ventilation, position equipment, integrate supplemental cooling, and monitor temperature in real time. By following these steps, one can enjoy uninterrupted movie marathons without the risk of unexpected shutdowns.
The advice combines best‑practice techniques with affordable, readily available tools. While the guide works without additional purchases, specific products are recommended where they provide measurable benefits over generic alternatives. The approach balances silent operation for a cinema‑like atmosphere with effective heat dissipation for demanding environments.
What You'll Need
- USB‑powered cooling fans (e.g., ZXWATC USB Cabinet Cooling Fan or AmRunJe 120mm USB Cooling Blower Fan)
- Temperature monitoring device (infrared thermometer or built‑in projector sensor)
- Cable management clips to keep airflow pathways clear
- Optional: PROCOOL Silent Cooling Fan System for silent cabinet cooling
- Basic tools: screwdriver, zip ties, and a small flashlight
Step 1: Evaluate the Projection Environment
Begin by inspecting the room where the marathon will take place. Measure the distance between the projector and the nearest wall; a minimum of 12 inches prevents heat from recirculating into the intake vent. Identify any obstructions such as furniture, speaker stands, or décor that could block natural convection. Document the ambient temperature using an infrared thermometer; ideal operating conditions fall between 18 °C and 24 °C (64 °F–75 °F). If the room is warmer, consider pre‑cooling the space with an air‑conditioner or portable fan before the event.
When the projector is housed in a cabinet or enclosure, ensure that the cabinet includes ventilation slots at the top and bottom. These slots create a chimney effect, allowing warm air to rise and exit while cooler air enters from below. If the enclosure lacks adequate openings, plan to modify it using a drill or a cut‑out tool, taking care not to compromise structural integrity.
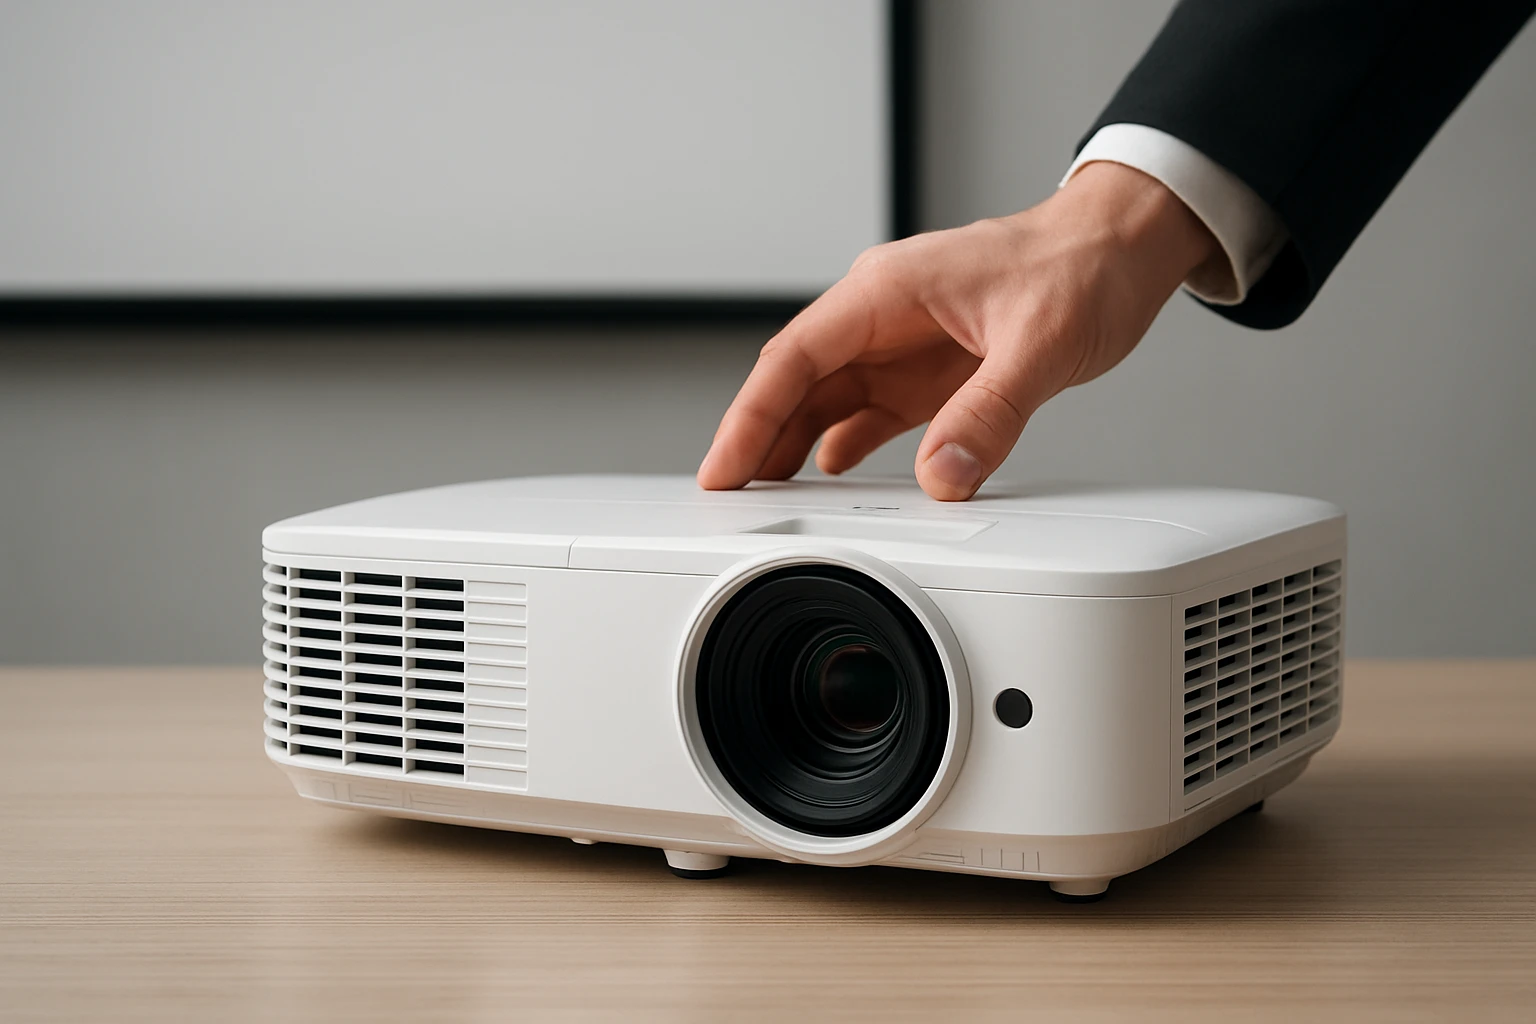
Step 2: Position the Projector for Optimal Airflow
Place the projector on a stable, flat surface that does not impede the rear exhaust vent. Elevate the unit slightly using a small stand or a stack of books, creating a gap of at least 2 inches beneath the intake. This elevation encourages fresh air to flow beneath the device, reducing the temperature gradient between the intake and exhaust.
Orient the projector so that the exhaust points toward an open area rather than a wall. If the projector is ceiling‑mounted, angle the exhaust downward toward the floor, where cooler air naturally settles. Verify that the power cable and HDMI connections do not create a bottleneck that could block airflow around the sides.
Step 3: Install Supplemental USB‑Powered Cooling Fans
For most home‑theater cabinets, a single 80 mm fan provides sufficient airflow. The ZXWATC USB Cabinet Cooling Fan offers ultra‑quiet operation at 21 dB on its lowest setting, making it ideal for silent movie environments. Its three‑speed controller allows users to balance airflow and noise, while the metal housing ensures durability for up to 65,000 hours of use.
Mount the fan on the rear panel of the cabinet, aligning the airflow direction with the projector’s exhaust. Use the included mounting brackets or small screws; the fan’s plug‑and‑play USB connector can draw power from the projector’s USB port, a wall adapter, or a power bank. If the cabinet is large or contains multiple devices, consider daisy‑chaining additional fans from the same series to achieve uniform cooling across the entire enclosure.
In scenarios where higher airflow is required—such as a densely packed media rack—a 120 mm blower fan provides greater volume. The AmRunJe 120mm USB Cooling Blower Fan delivers 23 CFM at 38 dBA, offering a noticeable increase in cooling capacity while remaining USB‑powered. Its three‑speed controller enables fine‑tuning of noise levels, and the protective iron mesh safeguards against accidental contact with the blades.
Step 4: Implement Silent Cabinet‑Level Cooling (Optional)
When absolute silence is paramount—such as during a dialogue‑heavy drama—consider the PROCOOL Silent Cooling Fan System. This kit includes four temperature‑controlled 80 mm fans that automatically adjust speed based on internal heat readings. Noise levels range from 6 dBA to 14 dBA per fan, delivering whisper‑quiet operation while maintaining airflow of up to 128 CFM combined.
The system’s programmable controller displays real‑time temperature, turning fans on only when needed. This approach conserves energy and minimizes acoustic intrusion. Installation involves mounting the fans in a grid pattern within the cabinet and connecting them to the supplied controller, which plugs into a standard USB power source.
Although the PROCOOL system is priced in CAD (approximately $9.05) and carries a 3‑year warranty, its hand‑built quality and auto‑speed feature make it a compelling choice for high‑end home theaters that demand both performance and silence.
Step 5: Secure Cables and Maintain Clear Pathways
Messy cable bundles can obstruct airflow and create hotspots. Use zip ties or Velcro straps to bundle power and signal cables together, routing them along the sides of the cabinet rather than across the rear vent. Ensure that the USB power cable for any supplemental fan does not drape over the intake vent, as this could restrict the flow of cool air.
Periodically inspect the interior of the cabinet for dust accumulation. Dust acts as an insulator, reducing heat dissipation efficiency. A soft brush or compressed air can safely remove debris without damaging fan blades. Perform this maintenance after each marathon session to preserve optimal cooling performance.
Step 6: Monitor Temperature in Real Time
Many modern projectors include built‑in temperature sensors that display current operating temperature in the on‑screen menu. Keep an eye on this reading throughout the screening; if the temperature approaches the manufacturer’s maximum threshold (often around 55 °C/131 °F), increase fan speed or pause the movie to allow the unit to cool.
For added assurance, use a handheld infrared thermometer to spot‑check the surface temperature of the projector’s exhaust vent every 30 minutes. Record the values in a simple log to identify trends and adjust cooling strategies for future events.
Tips & Pro Tips
- Start the supplemental fans at low speed during the warm‑up period; this reduces audible noise before the movie begins.
- If the projector supports it, enable any built‑in eco‑mode, which reduces lamp intensity and consequently heat output.
- Place a small fan in the room aimed at the projector’s exhaust to accelerate heat removal without increasing cabinet noise.
- When using a portable power bank for USB fans, ensure it can deliver at least 1 A to avoid voltage drop that could affect fan speed.
- Consider adding a temperature‑controlled smart plug to automatically shut off the projector if it exceeds safe limits.
Troubleshooting
Problem: Projector shuts down after 45 minutes despite fans running.
Solution: Verify that the USB fan is receiving sufficient power; replace the cable with a shorter, higher‑quality USB‑A to USB‑C if necessary. Check for dust buildup on the projector’s internal filters and clean them.
Problem: Fans produce a rattling sound.
Solution: Ensure the fan is securely mounted and that the mounting surface is flat. Tighten any loose screws and consider adding a thin rubber washer to dampen vibrations.
Conclusion
By evaluating the environment, positioning the projector correctly, and integrating appropriate USB‑powered cooling solutions, one can effectively prevent overheating during marathon screenings. Continuous temperature monitoring and diligent cable management further safeguard the equipment, extending its operational lifespan. Whether one chooses the ultra‑quiet ZXWATC fan, the high‑flow AmRunJe blower, or the fully automated PROCOOL system, each tool offers distinct advantages that complement a professional thermal‑management strategy.
Implement these practices for every long‑duration viewing session, and enjoy uninterrupted cinematic experiences without the anxiety of thermal failure.
Products Mentioned in This Guide
Frequently Asked Questions
How can I check if my projector has adequate ventilation during a marathon screening?
Inspect the airflow vents for clear space, ensure no obstructions, and use the projector’s built‑in temperature readout or an external sensor to confirm normal operating temps.
What are the best placement tips for a projector to avoid overheating?
Place the projector on a stable surface with at least a few inches of clearance behind and above the vents, and avoid enclosing it in tight cabinets or direct sunlight.
Are USB‑powered cooling fans effective for long movie nights?
Yes, USB fans provide supplemental airflow that helps maintain lower temperatures without adding noticeable noise, especially in warm rooms.
How often should I monitor the projector temperature during a marathon?
Check the temperature every 30‑45 minutes or set up an automatic alert if the device supports real‑time monitoring.
Can I use supplemental cooling without disrupting the cinema‑like atmosphere?
Choose low‑noise fans or silent cooling pads, and position them out of the audience’s line of sight to keep the viewing experience quiet and immersive.